XR - Latency Calibration
Automatically evaluate the amount of frame delay between sending a picture to the stage and receiving it back through the camera.
XR - latency calibration needs a specific XR/AR license.
If you’d like to try out these features to decide whether you want to purchase an XR/AR license, please contact us.
1 - Theory
This step calculates the delay (in frames) between the content broadcast in the Screens and the it’s reception in the camera. It sets a
 Frame Delay
according to the result.
Frame Delay
according to the result.
Indeed, there is delay between the moment SMODE is broadcasting a content in the screens and the moment the pictures actually get back as video input. This is refered to as the close loop latency :
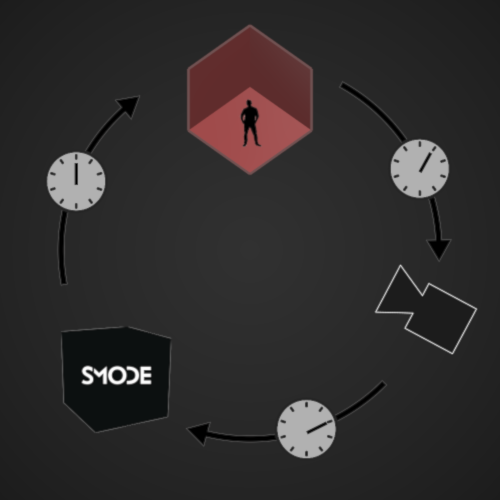
The main objective of this part is to count the number of frames that there are between these 2 moments. In order to do so, Smode will broadcast a White Glitch in each screen and will wait to see it in the video input.
The difference in time between the moment of emission and reception is equals to the delay you will have to apply on the set extension and content broadcasted in the screens.
The example below is a simplified illustration of a XR set-up with 6 frames of delay :
2 - Before Starting a Latency Calibration
Before launching the latency calibration, you must ensure that :
-
Your Smode is fully optimized in graphical performances. Use the Profiling feature if needed.
-
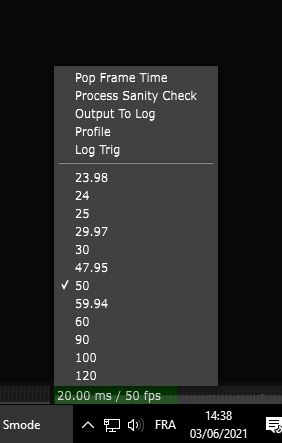
The frame rate is stable. If not, it might be because your set-up isn’t fully genlocked
-
You are filming all impacted screens
-
The camera isn’t moving
-
Alert people not to pass in front of the camera
Once all of this is checked, you can start a calibration.
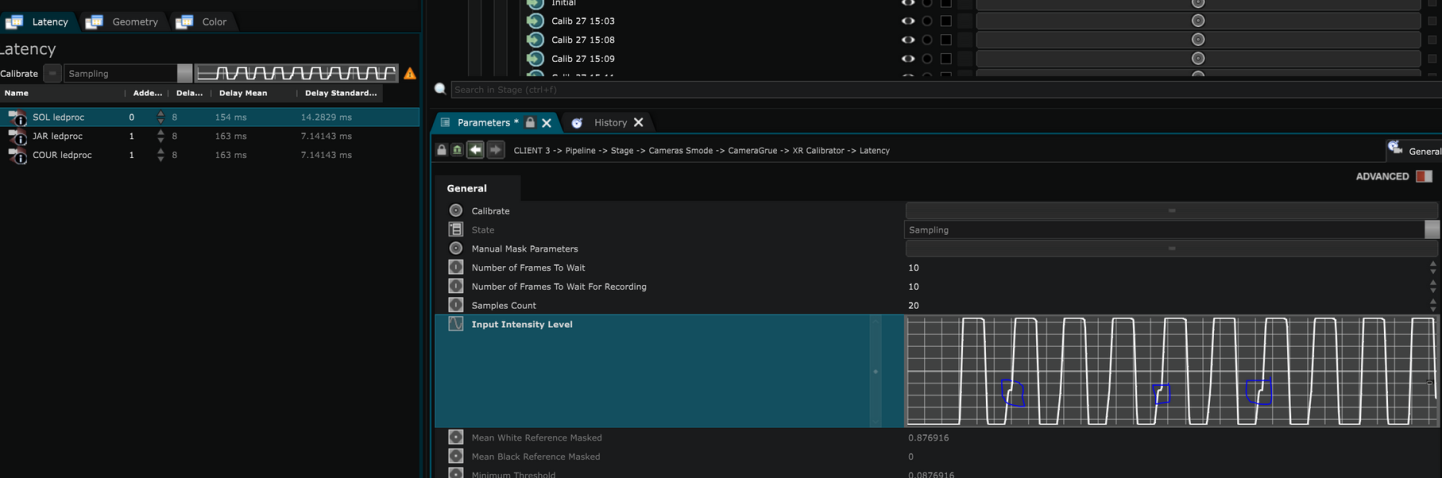
3 - UI Check-out
-
Viewport : Display the stream of the
 XR Calibrator
 Video Input
-
Tracker information : Display the current position orientation of the
 Tracker
of the
Tracker
of the
 Physical Camera
such as the deviation. A positive value of Position Deviation and Orientation Deviation means that your tracker is currently moving.
Physical Camera
such as the deviation. A positive value of Position Deviation and Orientation Deviation means that your tracker is currently moving. -
Added delay : (Frame) delay added for each screen in result of the XR - Latency Calibration , if some of your screens are faster than others. (If all screens aren’t at 0 added delay, you may have to check your setup, and look for some hardware that is adding delay on some of the screens)
-
Delay in frames : (Frame) delay calculated by the algorithm.
-
Average Delay : (ms) Average time between the emission of the white content and its reception.
-
Delay Standard Deviation : actual difference between the average delay, and the actual time between emission and reception. If this value is not 0 your setup is probably not genlocked
4 - Calibration process
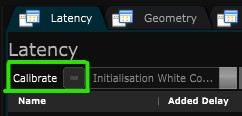
To launch the calibration part, simply press “Calibrate” on the
 XR Calibrator Editor
This is what should happen :
Once you have the Delay amount, you can apply it into your Extension and AR in the VFX processor, as explained here: XR - Extended and augmented reality
TroubleShoots
If the Standard Deviation isn’t at 0 for all screens :
-
Check if your setup isn’t genlocked ?
-
Check the EDIDs for each screen.
-
Is SMODE dropping ?

-
SMODE is not optimized, use the Profiling feature
-
First of all you must ensure you camera and led screen are at same refreshRate
-
Smode requested Frame-rate is the same as your screen refreshRate
If you have all your Standard Deviation a 0 you can ignore the warning “Clock Synchronization was not perfect”
The second latency you need to adjust: Camera Tracking .
Next step: XR - Geometry Calibration .