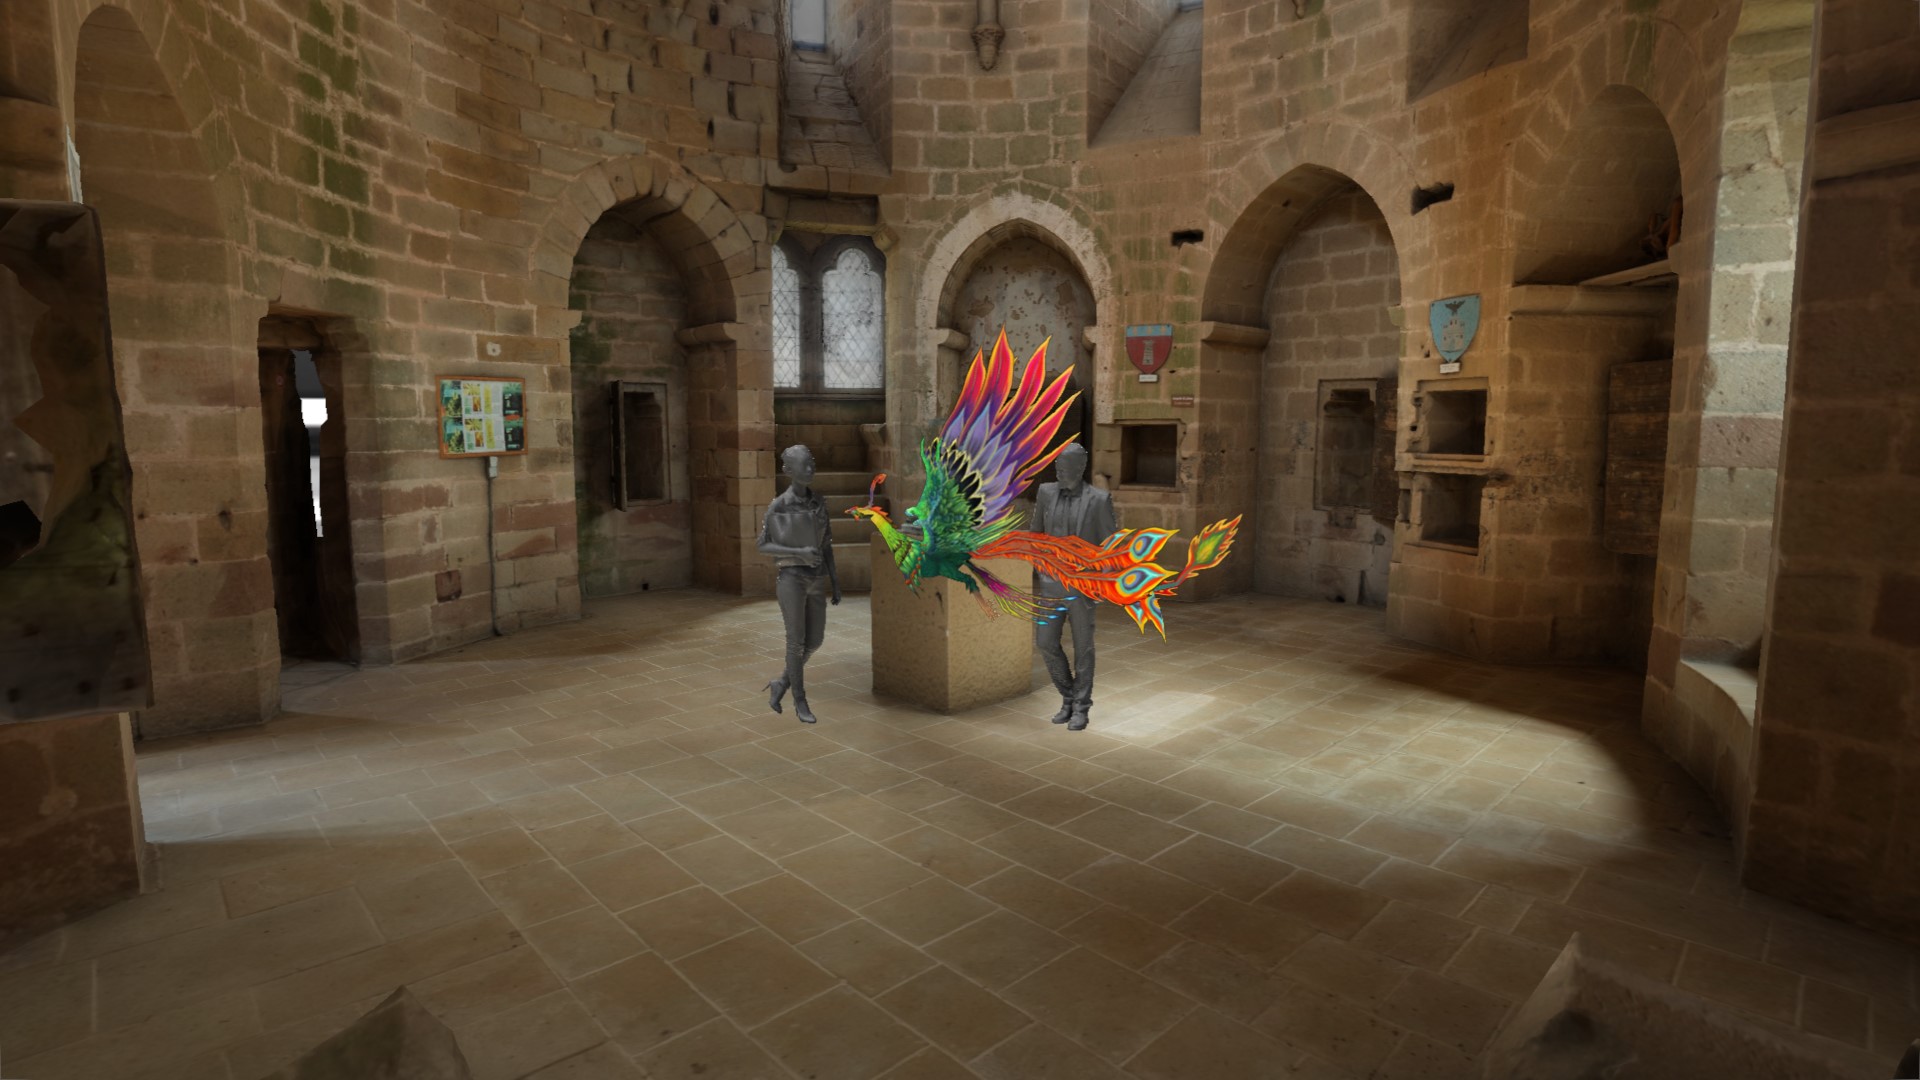
XR - Extended and augmented reality
Final VFX processor for compositing the camera with the set extension and AR
XR projects needs a specific XR/AR license.
If you’d like to try out these features to decide whether you want to purchase an XR/AR license, please contact us.
Explanation
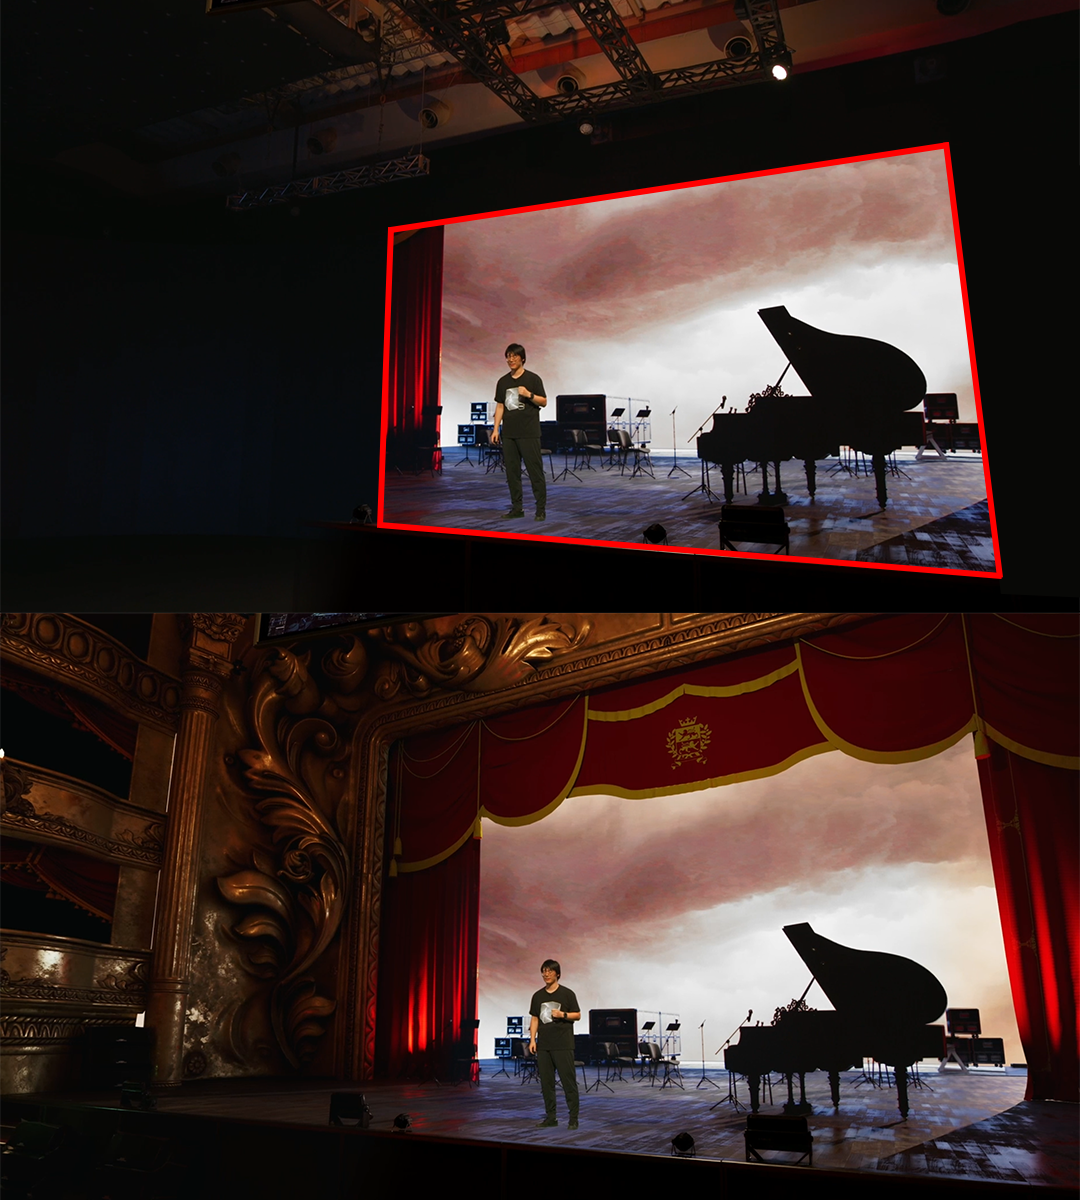
The set-extension consists of sending the final stream, composed of the camera stream to which we add the virtual layout above.
This is achieved with a dedicated
 Processor
in which the
Processor
in which the
 Video Input
must be placed first.
Video Input
must be placed first.
To avoid delays between the camera stream and the extension, please follow the technique described below.
Extended Reality
The purpose of the extended part is to add content outside the boundaries of the LED screens, creating a seamlessly blended image.
Create a
Processor
in the
 Pipeline
and select your
Pipeline
and select your
 Physical Camera
as its Current Camera.
Physical Camera
as its Current Camera.
In this
Processor
, create a
Video Input
that corresponds to the tracked camera video stream.
If you are not on-site and don’t have a real camera at the moment, you can create a
Compo with a
Stage Preview to simulate the video input.

Then, create a new
Compo
, drag and drop the ‘back’
 Content Map
inside it and set it’s renderer to
Unproject 3D
.
Content Map
inside it and set it’s renderer to
Unproject 3D
.
It will virtually project the
Content Map
onto a 3D plane according to the
Physical Camera
’s perspective.
You need to apply a mask on this new
Compo
to display the camera stream only within the LED screen boundaries.
To do so, create a
 Layer mask
and invert it.
Layer mask
and invert it.
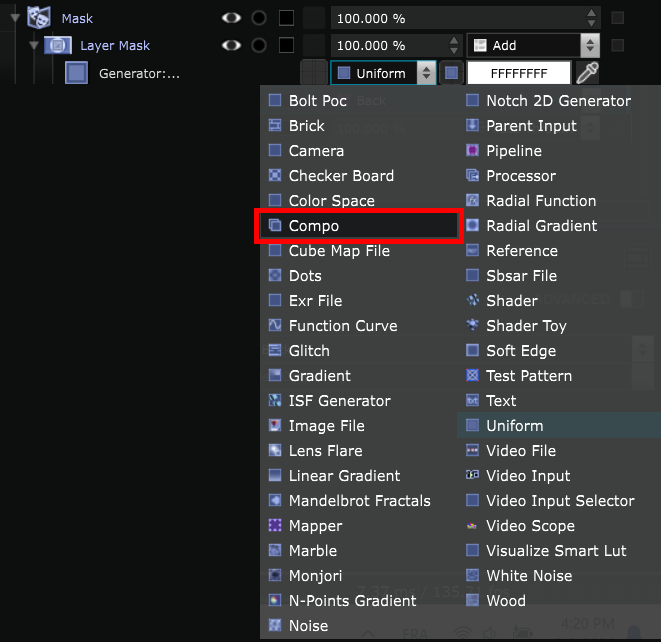
By default the
Layer mask
will create a
 Uniform
. Select a
Compo
instead.
Uniform
. Select a
Compo
instead.
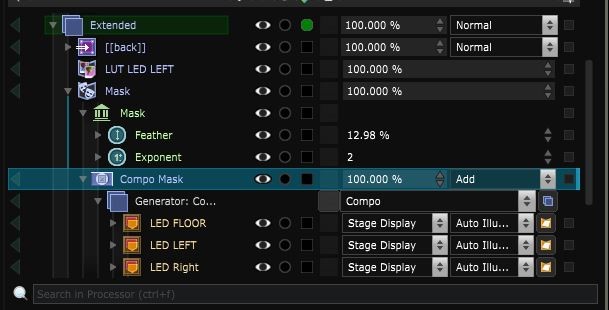
In this
Compo
, delete the
Uniform
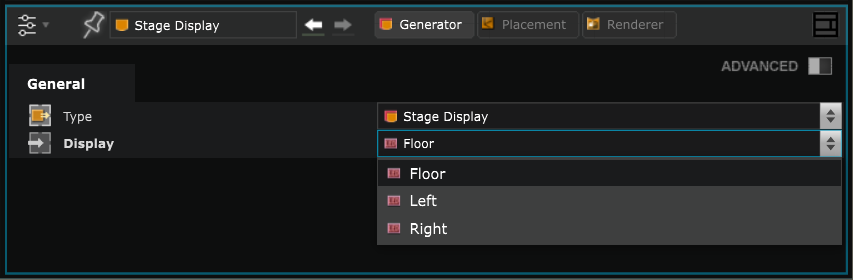
and create a 3D layer
 Stage Display
for each LED screen.
Stage Display
for each LED screen.
Select the corresponding LED screen in the
Stage Display
parameters.
Smooth the Extension’s mask
Change the renderer of the
Stage Display
to a
 AutoIlluminate Surface
.
AutoIlluminate Surface
.
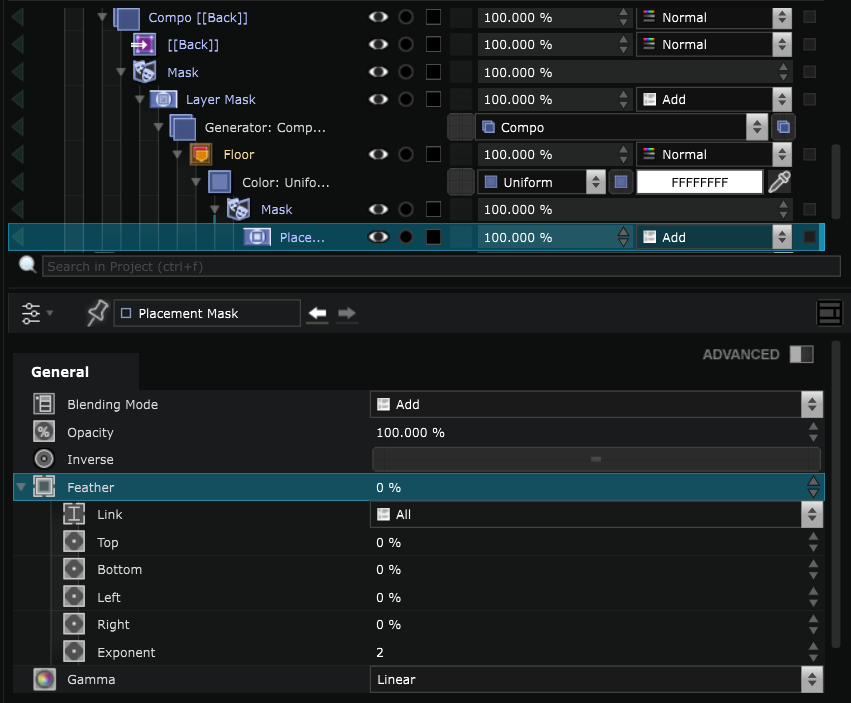
Apply a
 Placement mask
on the
Uniform
.
Placement mask
on the
Uniform
.
At the moment, the edges of the
Placement mask
are very sharp but you can soften them by using the ‘Feather’ parameter.
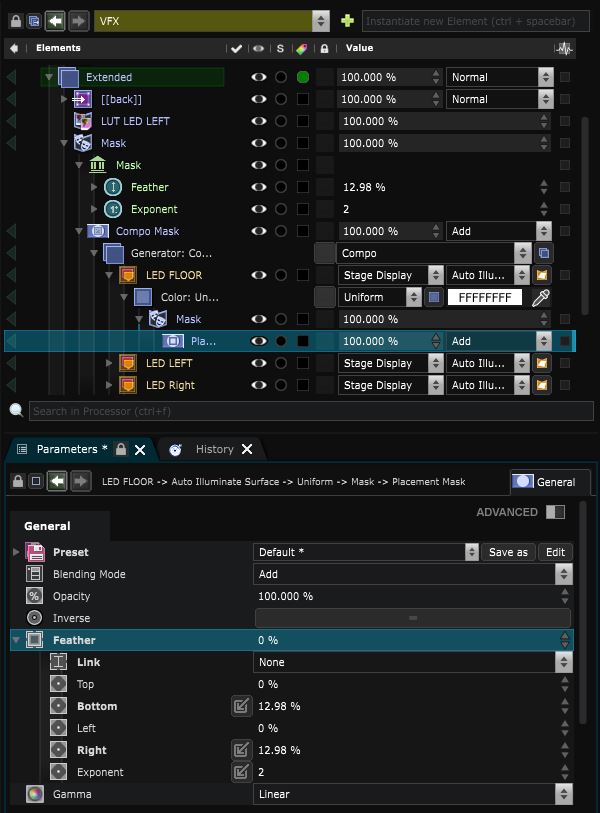
By default, the link is set to ‘All’, so if you change one of the values, they will all be modified as well.
Change the link to ‘None’ and change the values to smooth the edges you want.
It’s advised to expose the Feather value in a
 Parameter Bank
by right clicking on the value and selecting ‘Expose as clamped vertical canvas value’ or ‘Expose as percentage’ between 0% and 100%.
Parameter Bank
by right clicking on the value and selecting ‘Expose as clamped vertical canvas value’ or ‘Expose as percentage’ between 0% and 100%.
This way, you can easily modify all the feather values you exposed at once directly from the
Parameter Bank
without having to go back to the parameters of each mask each time.
You can also change and expose the ‘Exponent’ value.
Augmented Reality
If you want to use AR elements, start by creating a
Content Map
specifically for AR content if you don’t already have one. Make sure to check ‘Alpha layer’.
Then create a new
Compo
in the final VFX
Processor
and drag and drop your
Content Map
inside.
Set it’s renderer to
Unproject 3D
.
If you don’t have transparency in your AR content, check if your
Delaying the Extension Content
Delaying the Extension and AR content for syncing the Show animation.
For this simply add a
 Frame Delay
onto the
Content Map
. The delay you need to input into the
Frame Delay
is the delay of the close Loop calculated by the
XR - Latency Calibration
.
Frame Delay
onto the
Content Map
. The delay you need to input into the
Frame Delay
is the delay of the close Loop calculated by the
XR - Latency Calibration
.

Sync the Video input and Traking Data
If your VFX look like this when rotating the camera, you need to to adjust the Camera Tracking Data Latency .
Match the Extended and AR Color to the video input
To make the color calibration you can follow this guide:
XR - Color Calibration
. It will go throw the step form recording the color to applying the
 Smart Lut
to your VFX processor
Smart Lut
to your VFX processor
At the end your VFX processor will look like this :
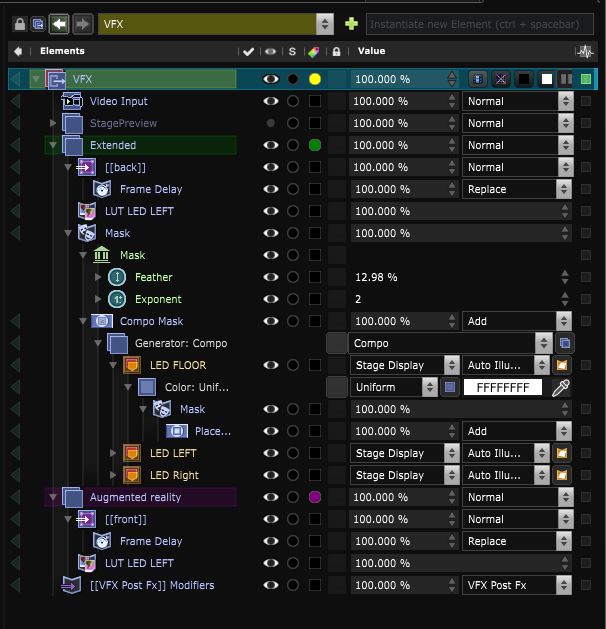
That’s it! You are now ready to go on stage to proceed to the XR - Calibration procedures .