Setup an XR project
Creating an XR studio in Smode requires a specific XR/AR license.
If you’d like to try out these features to decide whether you want to purchase an XR/AR license, please contact us.
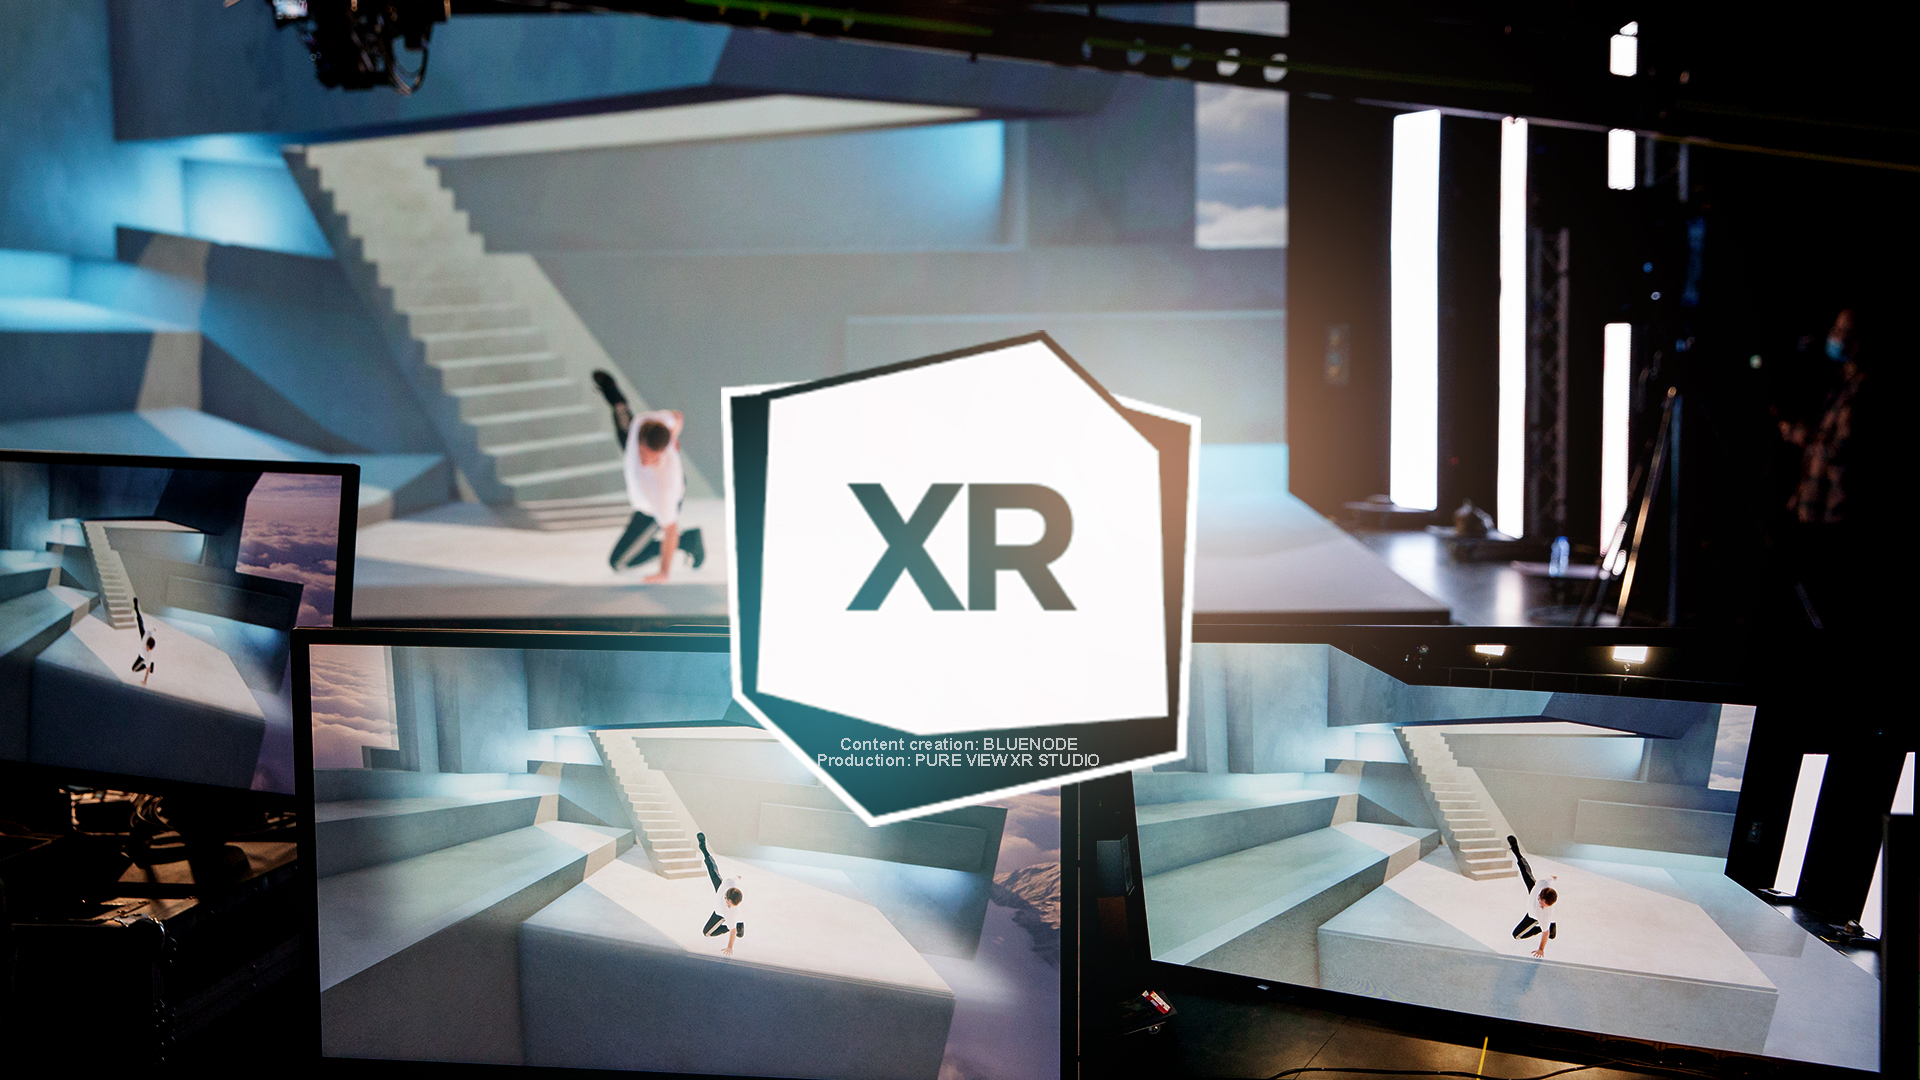
What does XR mean?
An XR project combines various special effects techniques to create a comprehensive virtual environment.
Notable among these techniques are :
- Camera Tracking
-
The Virtual Set: LED screens arranged to form a background
-
Augmented reality: Overlaying virtual elements onto a real camera stream
-
Set-extension: The virtual extension of the background diffused within the virtual set using augmented reality
Tutorials
Setup an XR project in Smode
To setup your XR project in Smode, follow these steps:
- XR - Create the Screens
- Camera Tracking
- XR - Broadcasting 3D content on the LED screens
- XR - Extended and augmented reality
- XR - Display Environment
Use any LED shape in Smode
If your LED screen doesn’t have a conventional shape that you can find by default in SMODE components, you can directly import an FBX file in the shape of your LED screen.
If you have a separate object for each LED panel, you should merge them (on Blender: Ctrl+J and Merge by distance) so that you have only one object for the whole screen.
Also check the orientation of the normals and flip them if necessary. Make sure that the UV of your mesh is correct. You can also set the origin to 3D Cursor.
Rename your object with the word ‘LED’ in the name so that Smode will automatically recognize it as a
 Free Shape Led Screen
.
Free Shape Led Screen
.
Export the FBX file and save it in one of SMODE’s
 Media Directories
. Simply drag and drop it in your Stage and choose
Import as Group in the Stage
.
Media Directories
. Simply drag and drop it in your Stage and choose
Import as Group in the Stage
.
Set the resolution of its internal
 Processor
and assign it a
Processor
and assign it a
 Content Map
. Set the Renderer type of the Content Map to ‘Warp To Geometry’.
Content Map
. Set the Renderer type of the Content Map to ‘Warp To Geometry’.
XR - Create the Screens
LED walls and Internal Processors
XR - Broadcasting 3D content on the LED screens
Utilize your LED screens as windows into a 3D world.
XR - Extended and augmented reality
Final VFX processor for compositing the camera with the set extension and AR
XR - Display Environment
Display environment content around your frustum
XR - Calibration procedures
Calibrate your XR Studio
XR - Latency Calibration
Automatically evaluate the amount of frame delay between sending a picture to the stage and receiving it back through the camera.
XR - Geometry Calibration
Lets Smode know the position of cameras and Led Screens in the real world
XR - Color Calibration
Blend perfectly the walls colors with the virtual surrounding.
Sanity Check for XR setups
Hardware setup for XR project