Create a single display project with a Warped output
Create a project with a single content map and a single output
The goal of this topic is to set common practices in the Smode pipeline for creative and operator users.
As a quick introduction, you must know that in the SMODE
Show
(where you put your content), every 2D layer needs a pixel area destination to be specified. As the output itself (your display) is not directly accessible you need to create one.
The pixel workspaces are called
 Content Map
.
Content Map
.
In the Smode
 Pipeline
you can create as many content maps as you want and rearrange them almost indefinitely thanks to advanced processors and
Pipeline
you can create as many content maps as you want and rearrange them almost indefinitely thanks to advanced processors and
 Content Mapping
. Each being completely independent from each other. For each projected surface you need a content area.
Content Mapping
. Each being completely independent from each other. For each projected surface you need a content area.
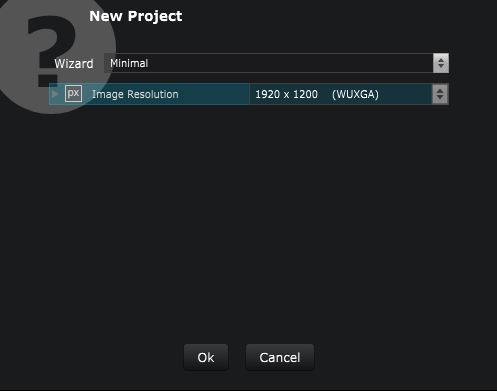
Lets begin to build a single WUXGA display setup (1920x1200)
Before anything, go to the Preferences panel (EDIT -> preferences Or F11) and set your Video Output Device for this tutorial, you’ll need to create only one WUXGA output.
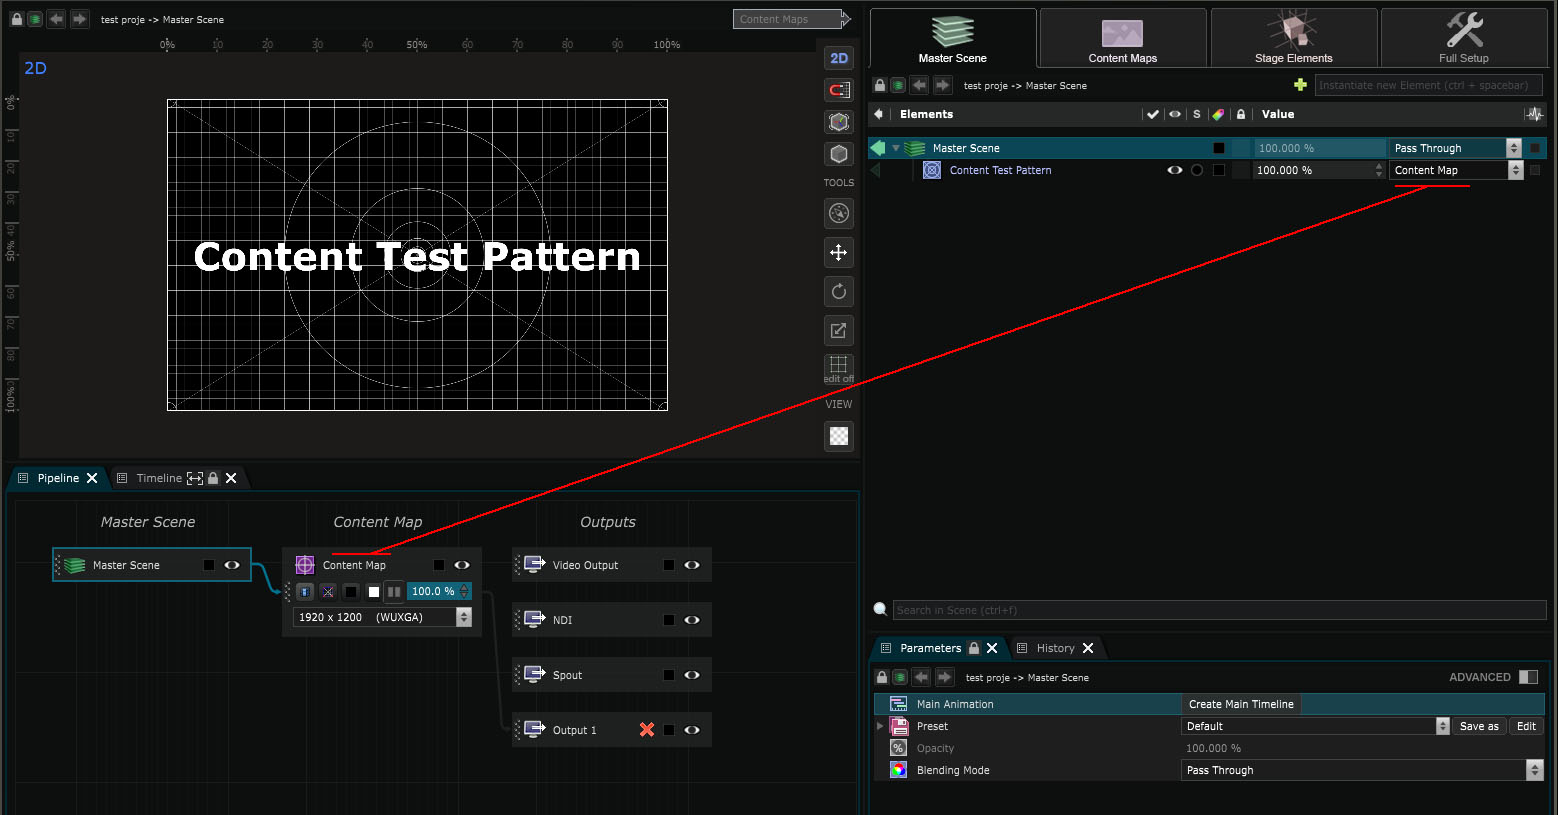
Now create a new project in “file -> New project” and change the image resolution for WUXGA
When you create a new
 Project
, Smode automatically creates a
Project
, Smode automatically creates a
 Test Pattern
in the
Show
, which is sent to a HD 1080p content map in the pipeline.
Test Pattern
in the
Show
, which is sent to a HD 1080p content map in the pipeline.
Notice that the resolution of the test pattern layer is inherited from the
Content Map
.
You can delete or create Content maps into the
Pipeline
tab with “right click -> delete” on a content map or “right click -> create” on an empty space.
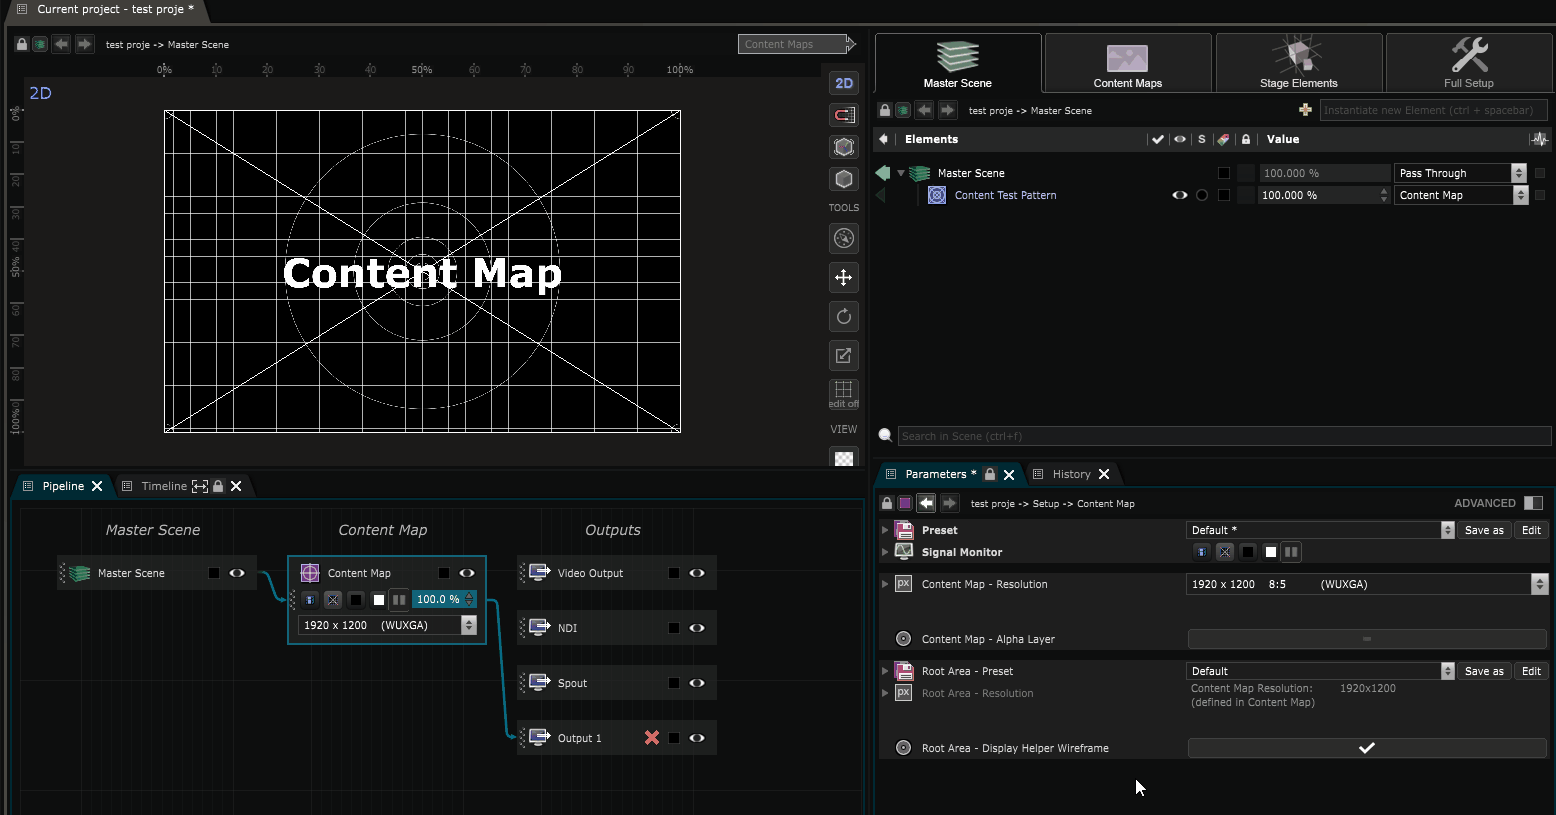
Here we are going to keep this content map but we will rename it “Background” and set it’s input as “Content” by clicking on the “content icon”. As you see on the image below :
Note that if you delete a content map or create another, you may have to reconnect the content from of the
Show
to the newly created content map by using the target selection box
 Element Tree
.
Element Tree
.
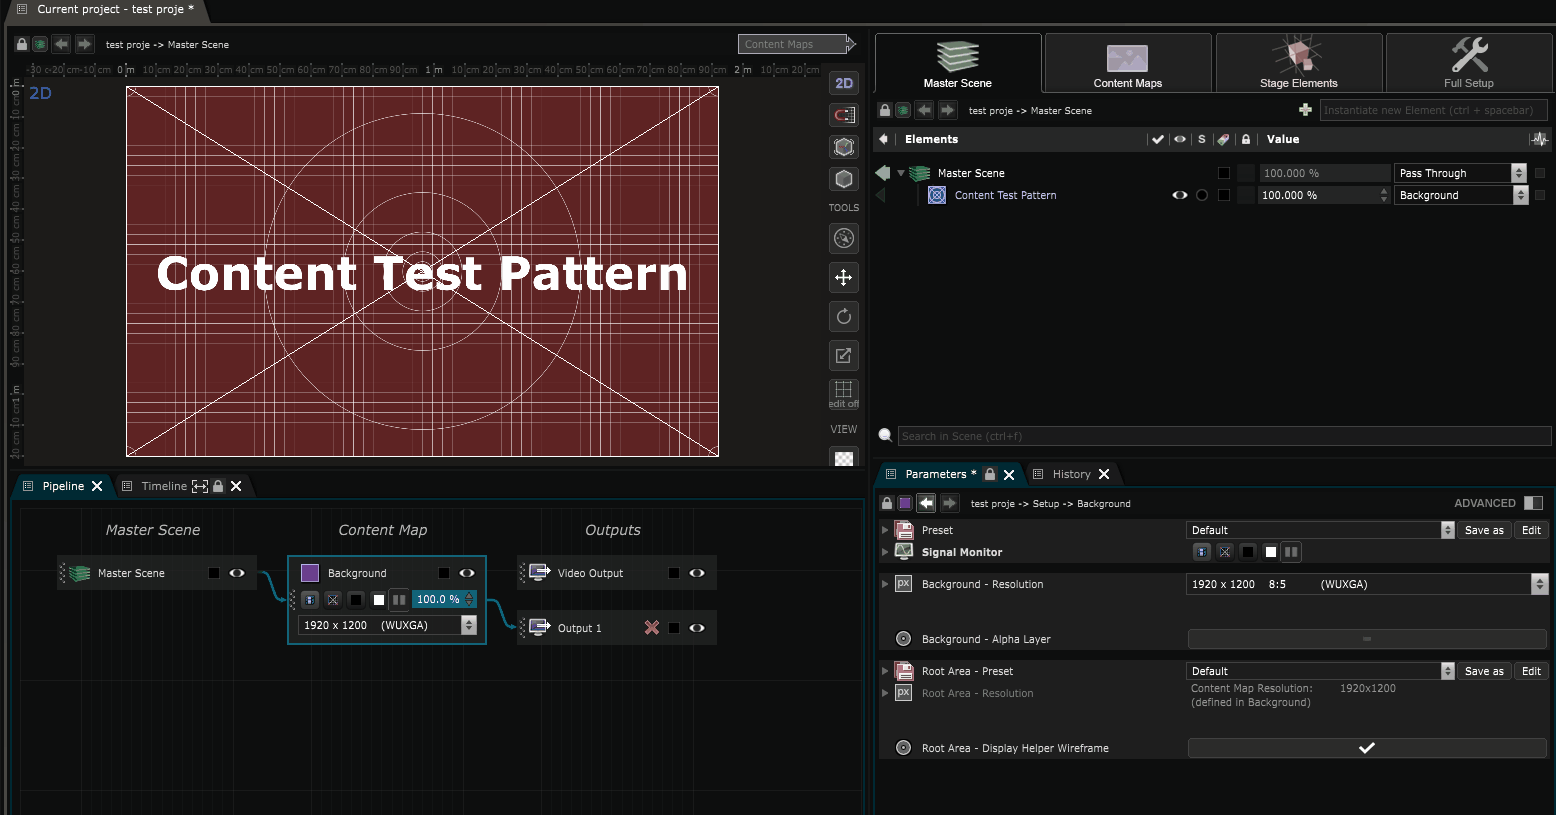
If your content is not connected to any content map it will display a “missing target” message:
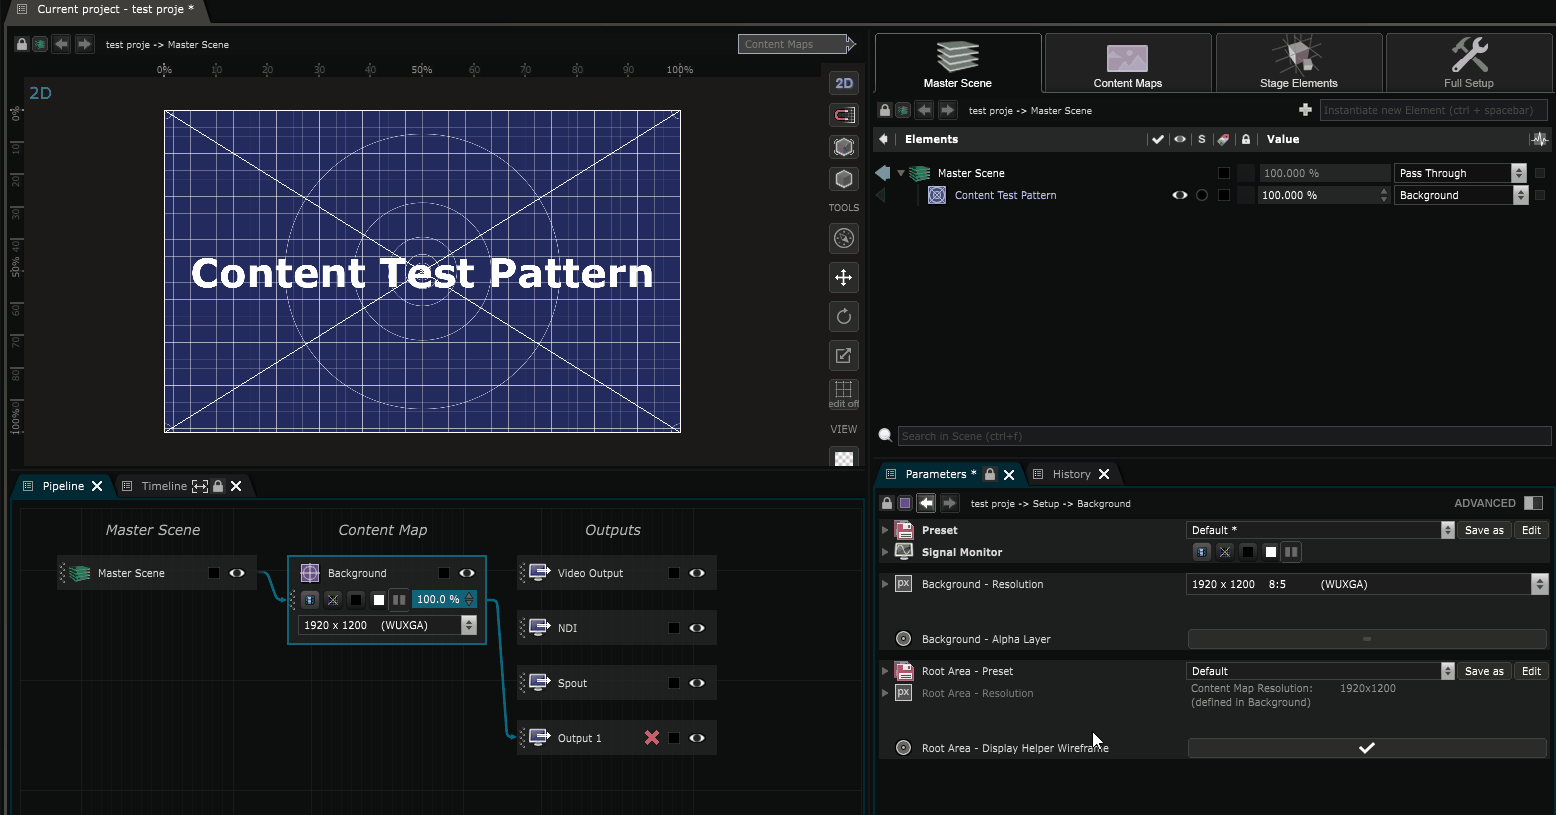
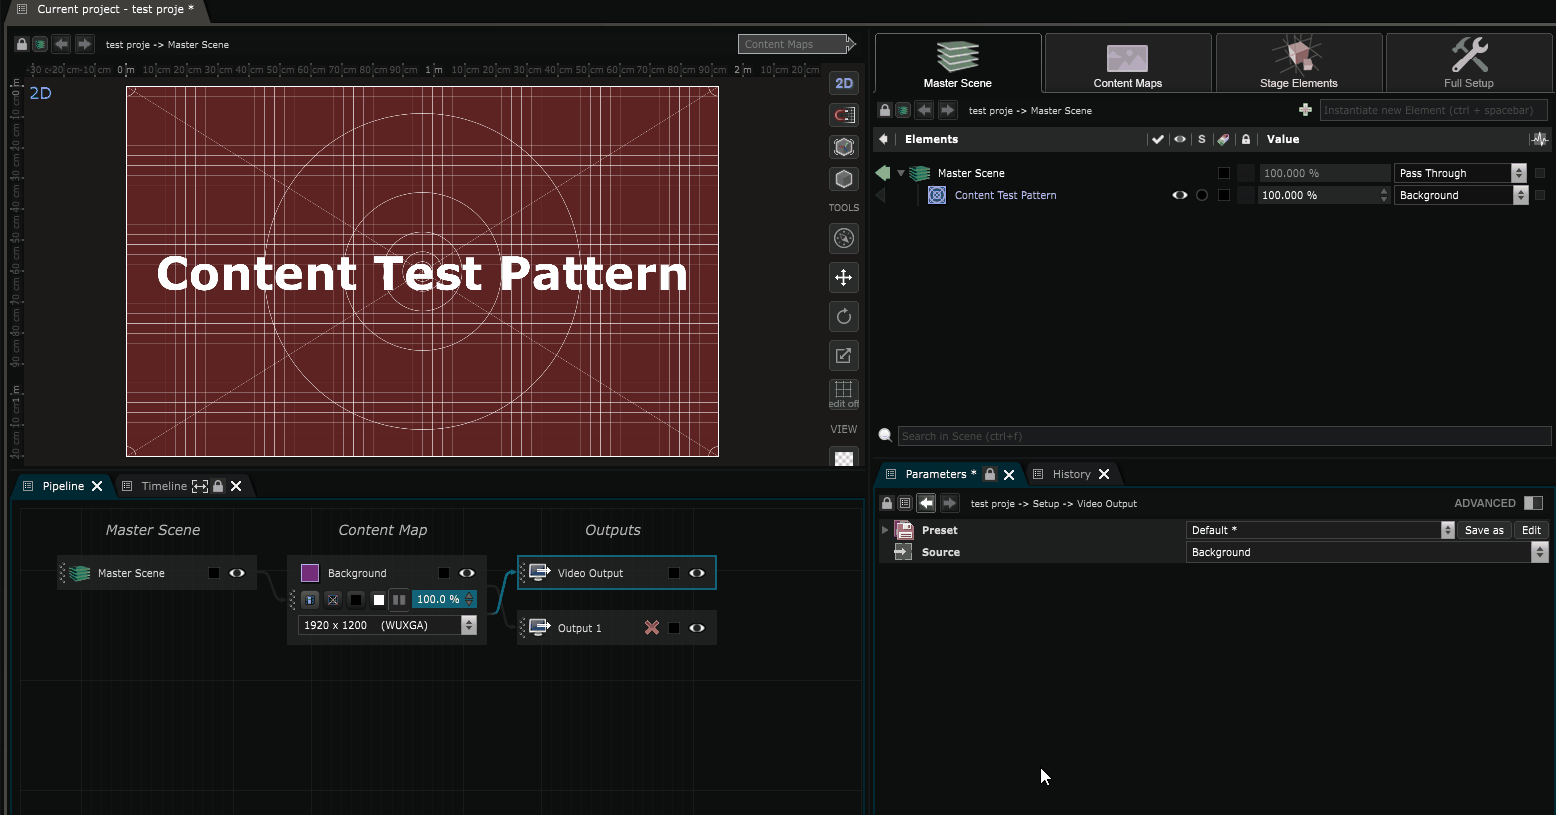
Finally, select your output in the pipeline you can set its source as “Background”.
Now you have created a very basic single display setup.
A content map can be re-used inside a Processor as a
 Pipeline Layer
: it can have a
Pipeline Layer
: it can have a
 Content Area
(accessible like a pipeline layer) or a
Content Area
(accessible like a pipeline layer) or a
 2D Mask
(ex quick acces to windows, doors, presents on the stage) and even
2D Mask
(ex quick acces to windows, doors, presents on the stage) and even
 2D Modifier
s.
2D Modifier
s.
But we wouldn’t recommend modifying the content maps too much, as
 Processor
are here for that purpose and will be far more versatile, especially for output specific modifications.
Processor
are here for that purpose and will be far more versatile, especially for output specific modifications.
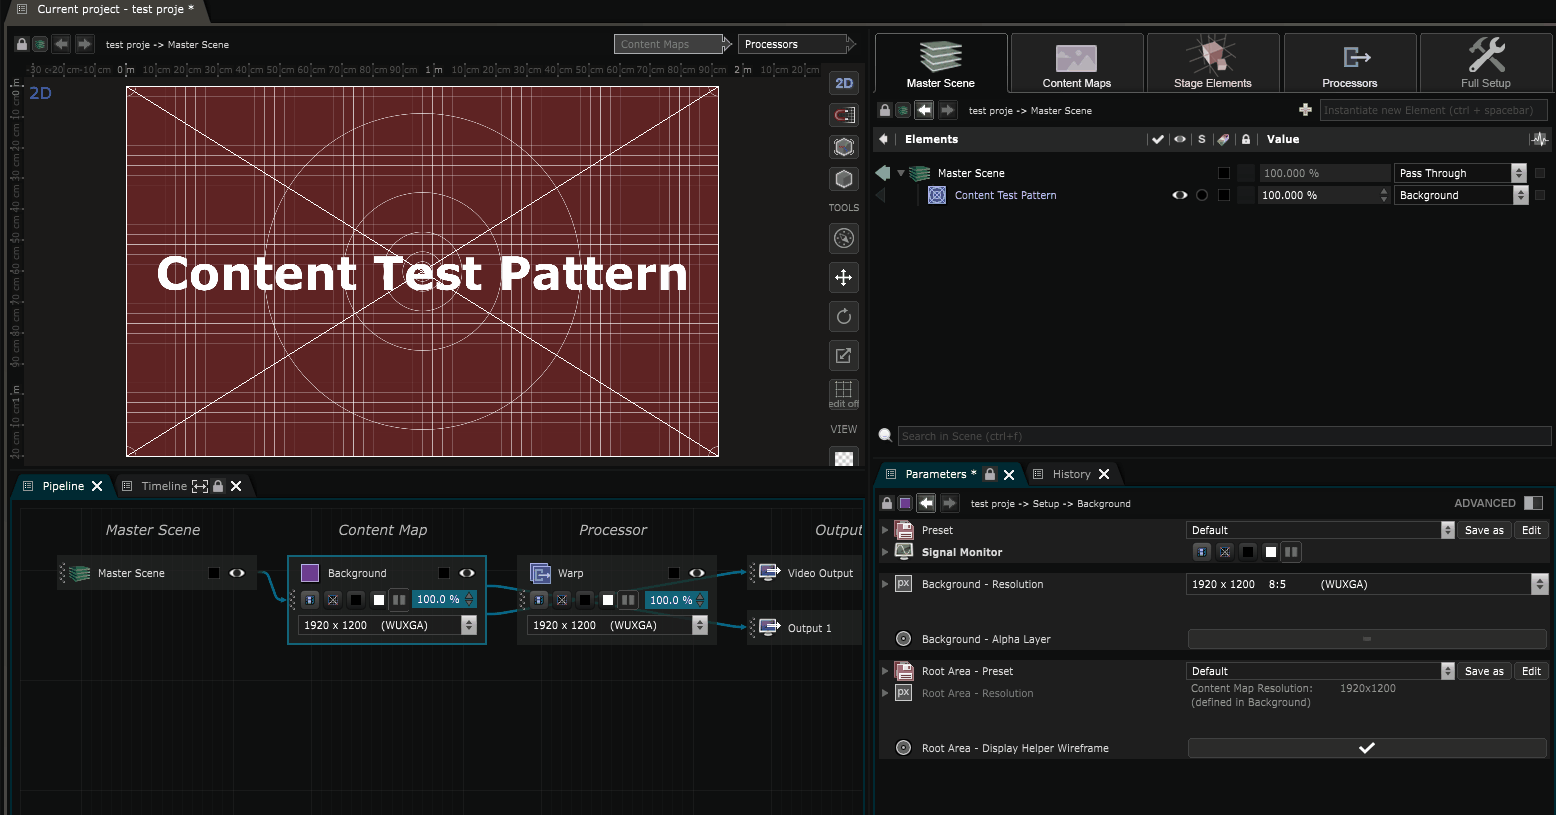
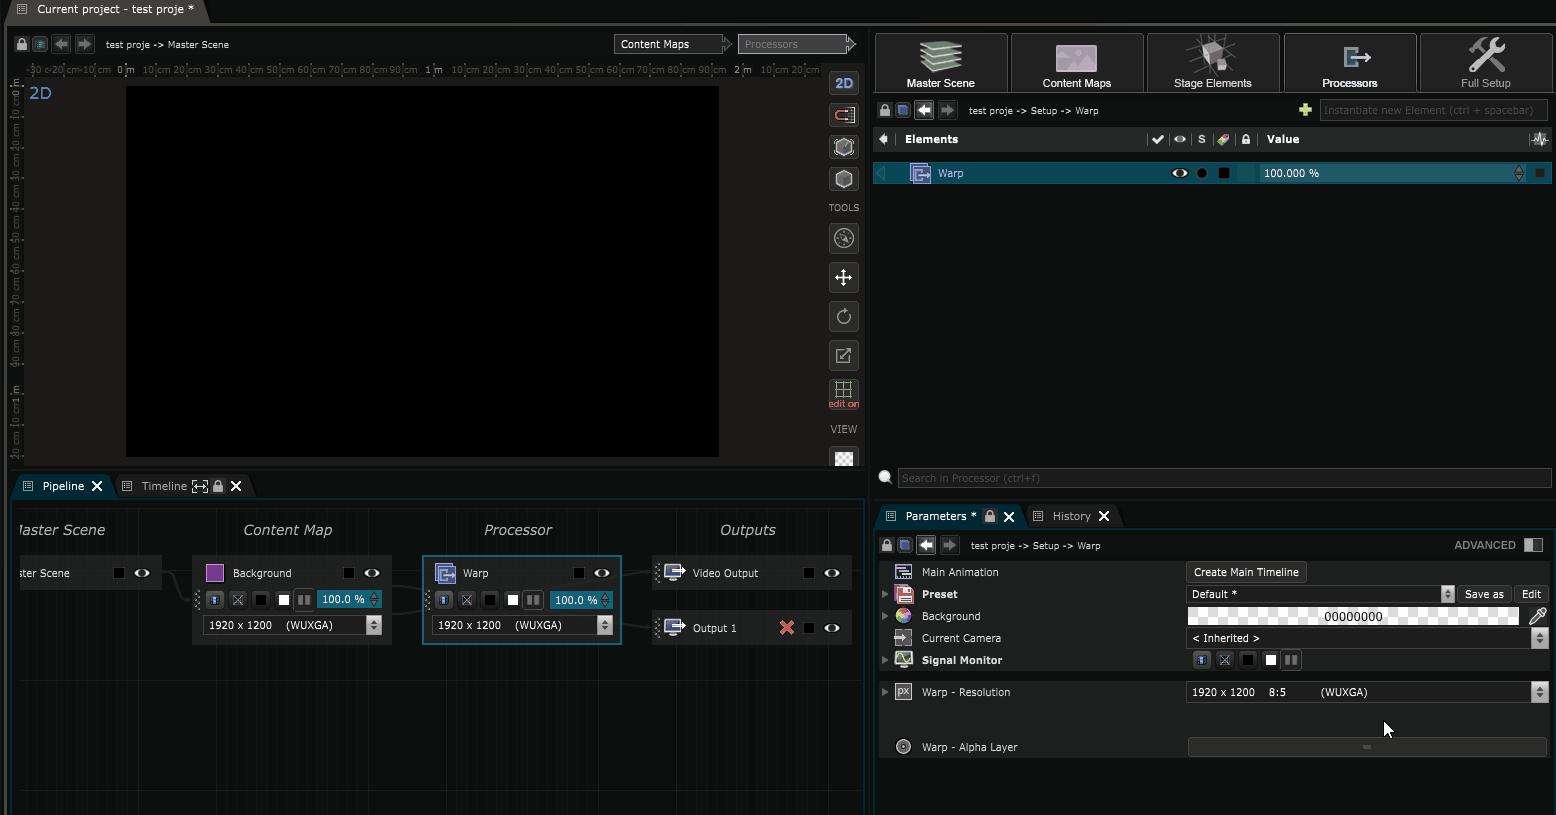
To add warping controls over this content map you need to create a processor.
In the pipeline or full setup, right click -> create -> processor.
It is recommended to have at least one processor per output. The processor will have the same resolution as the output.
Processors are a powerful feature in Smode, which allow for complex pixel workspace arrangement.
You can add pipeline layers (content maps, processors,…) along with any other regular
 2D Generator
, blend them, transform them… and connect them directly to the output of you choice.
2D Generator
, blend them, transform them… and connect them directly to the output of you choice.
Anything happening inside a processor won’t affect the content map(s), leaving them ready-to-use in other processors as well.
Also note that a Processor is not a Show target.
Inside this processor, you can add our content map with r__ight click -> pipeline layers -> Background__.
Select the “Background”
Pipeline Layer
 2D Placement
as
2D Placement
as
 Perspective
for corner warping.
Perspective
for corner warping.
When
Edit Mode
is activated, helpers will appear in the
 Viewport
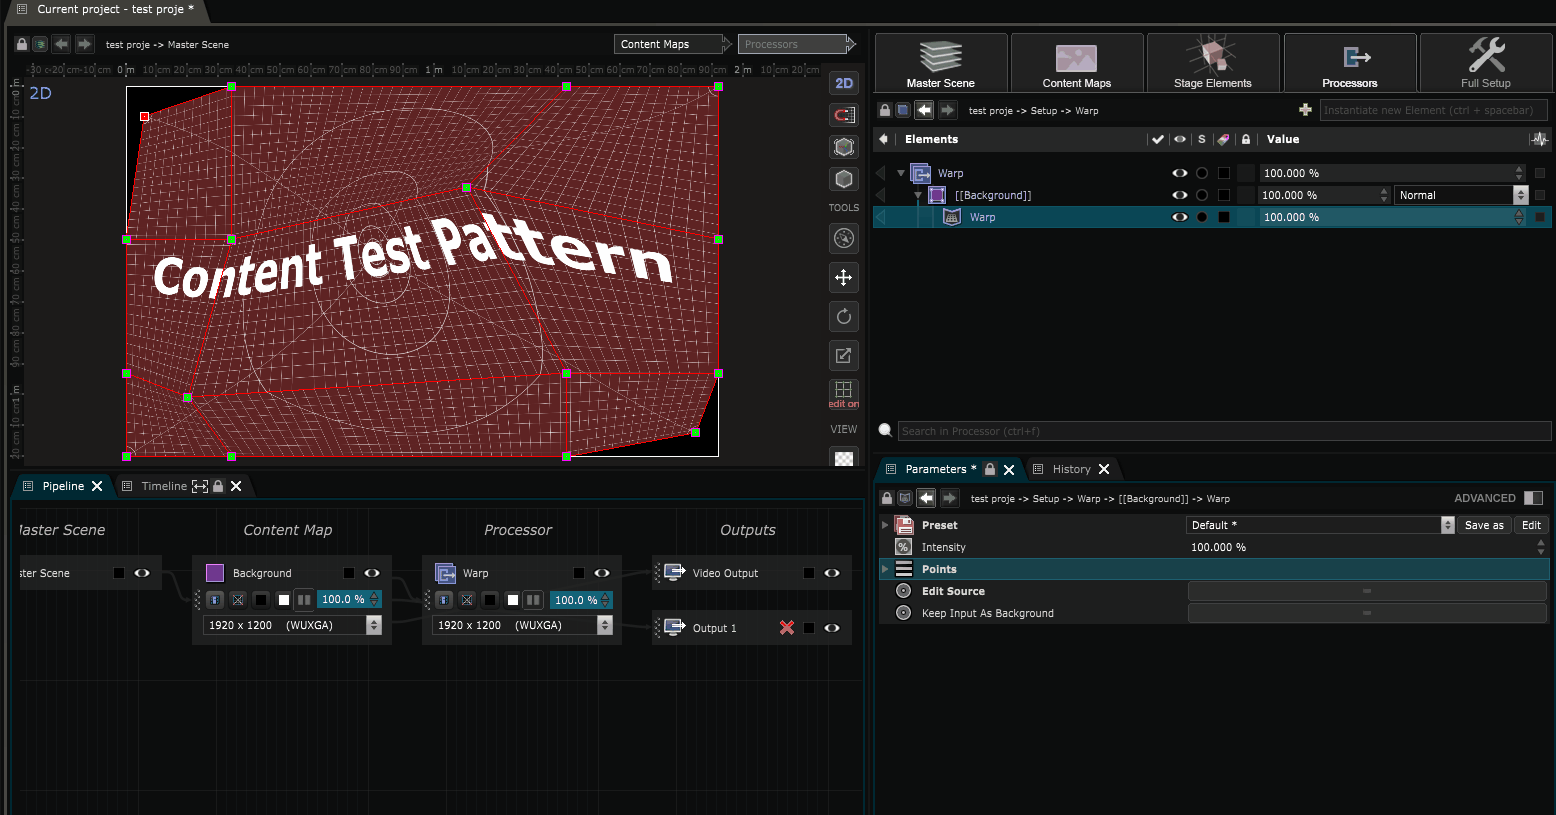
Another more advanced warping method would be to use a
 Warp
, which is far more versatile.
Warp
, which is far more versatile.
Hold ctrl+clic in edit mode to add points and uncheck “edit source” to do the deformation :
Finally change the video output source from “Background” to “Projector 1” inside the output parameters.
Here’s a video resuming the whole process :