Create a 2D warp on a single output with Warp
Method with
 Warp
Warp
The goal of this topic is to show a 2D process allowing to warp an output in order to adapt it to the surface on which we do the mapping.
For this tutorial, we will take the simple project we did in the "
Create a single display project with a Warped output
" chapter as a base.
All you need to have is a single
 Content Map
send to a
Content Map
send to a
 Processor
inside a project.
Processor
inside a project.
Our goal here is to show 2 simple mapping methods:
-
The first method used
 Content Area
-
The second Method here will use the
Warp
Both methods are not exclusives.
Warp
Methodology
For the second Method, we won’t need the
Content Area
, so just delete all the
 Pipeline Layer
from the
Processor
and import only the “Background” content map.
Pipeline Layer
from the
Processor
and import only the “Background” content map.
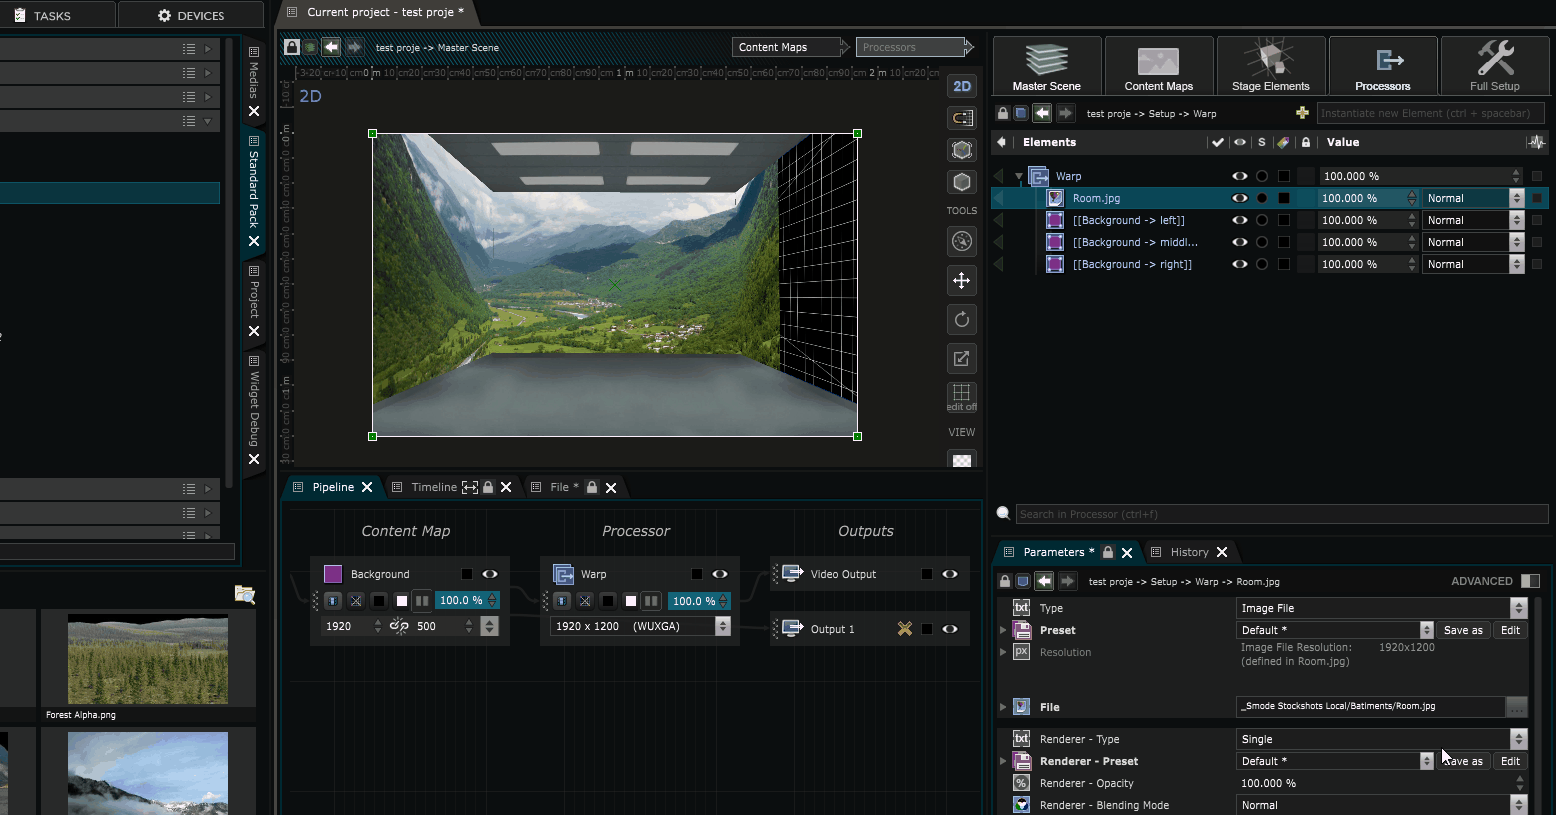
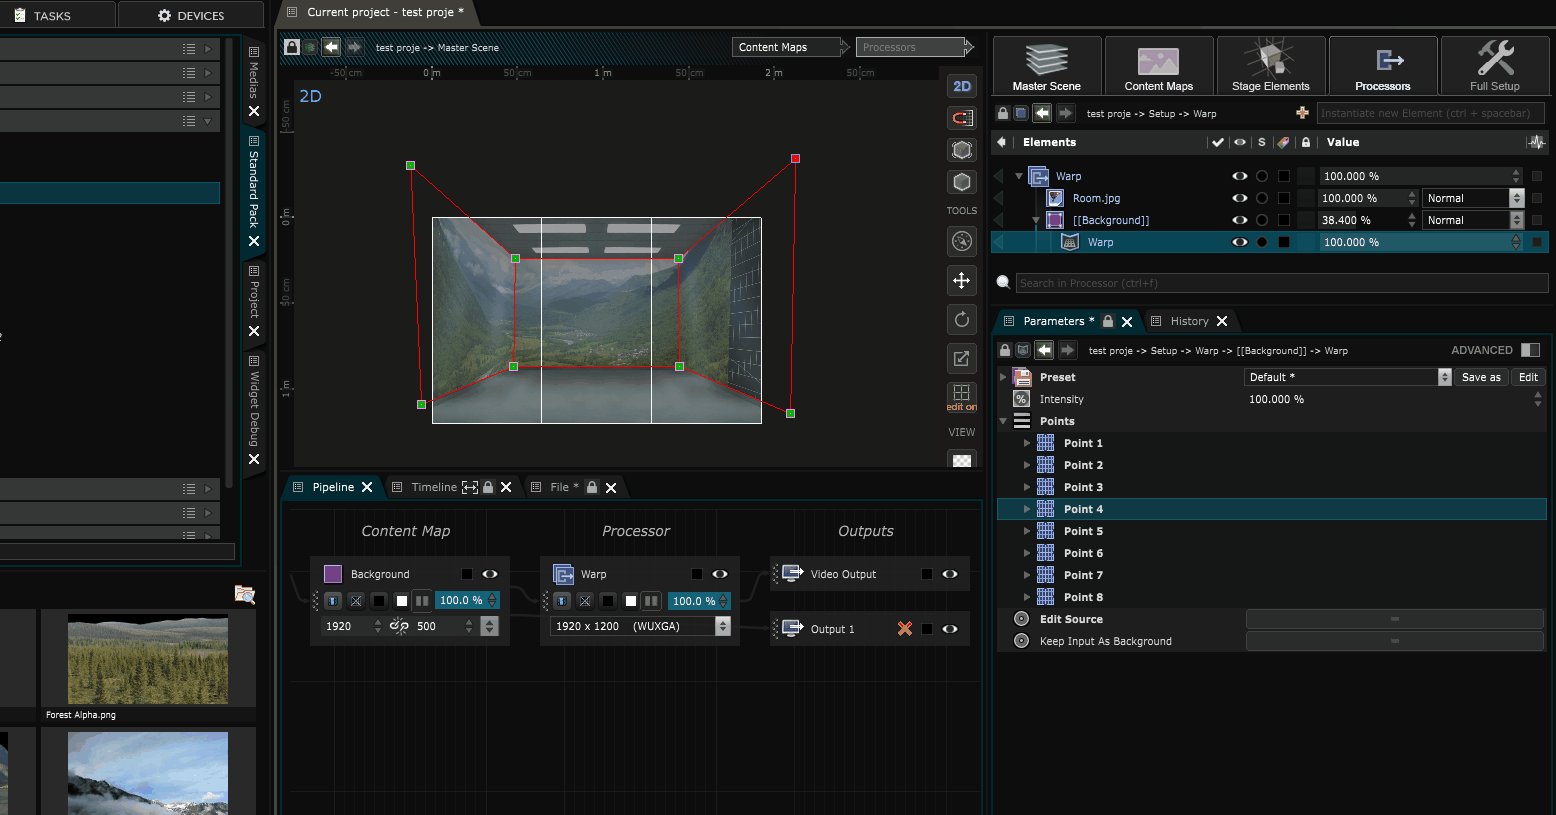
Now add a
Warp
over the content map and create points in edit mode with ctrl+click. Place your points where you want :
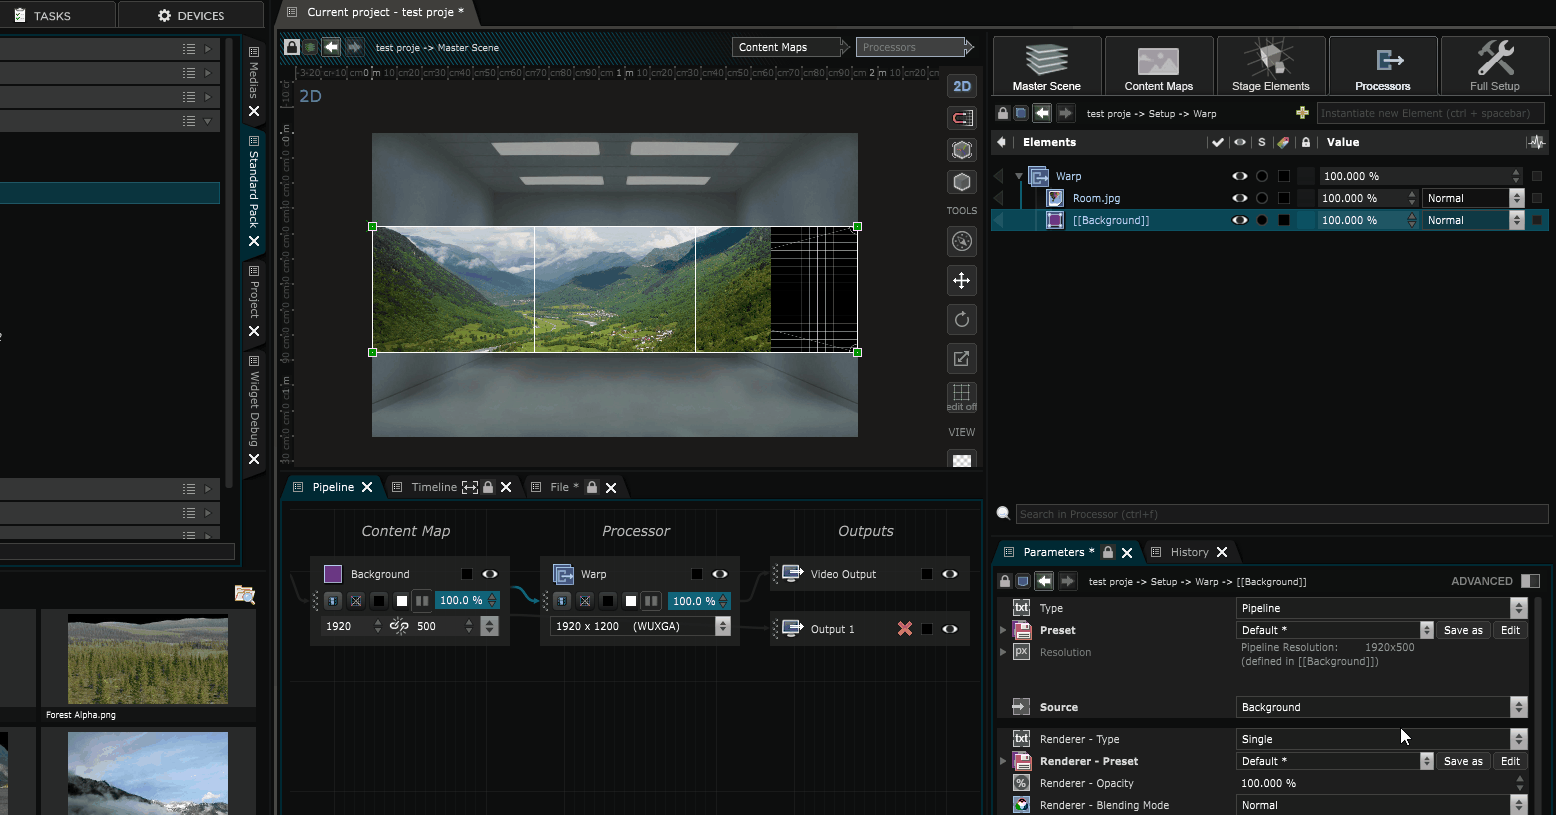
Note that if you are using this method, the image should be covering all the areas you want to map first, so put the image in “full placement” :
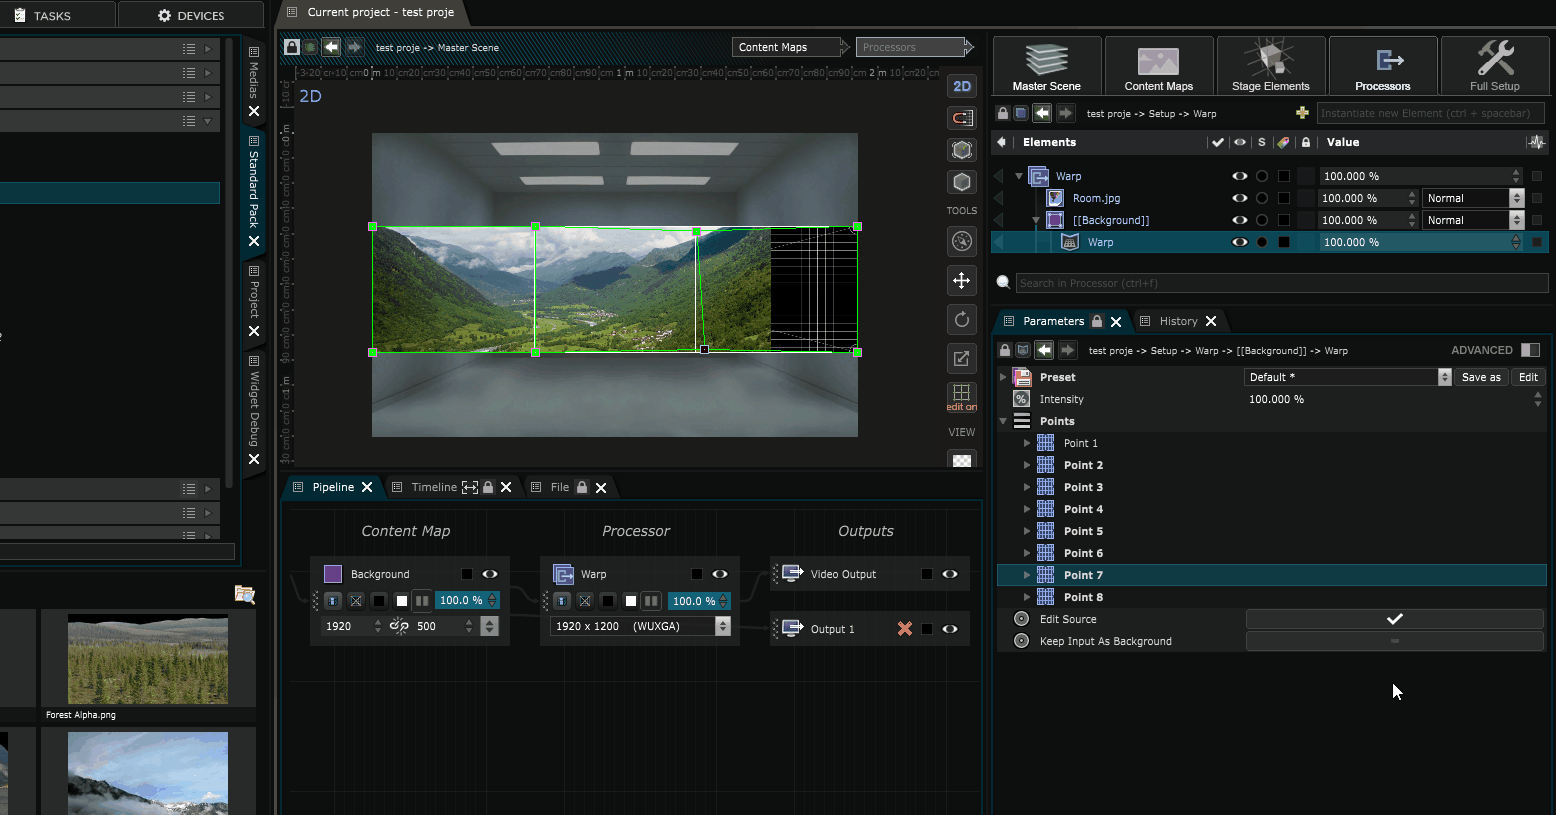
Now you can uncheck “edit source” inside the warp modifier and warp your output.
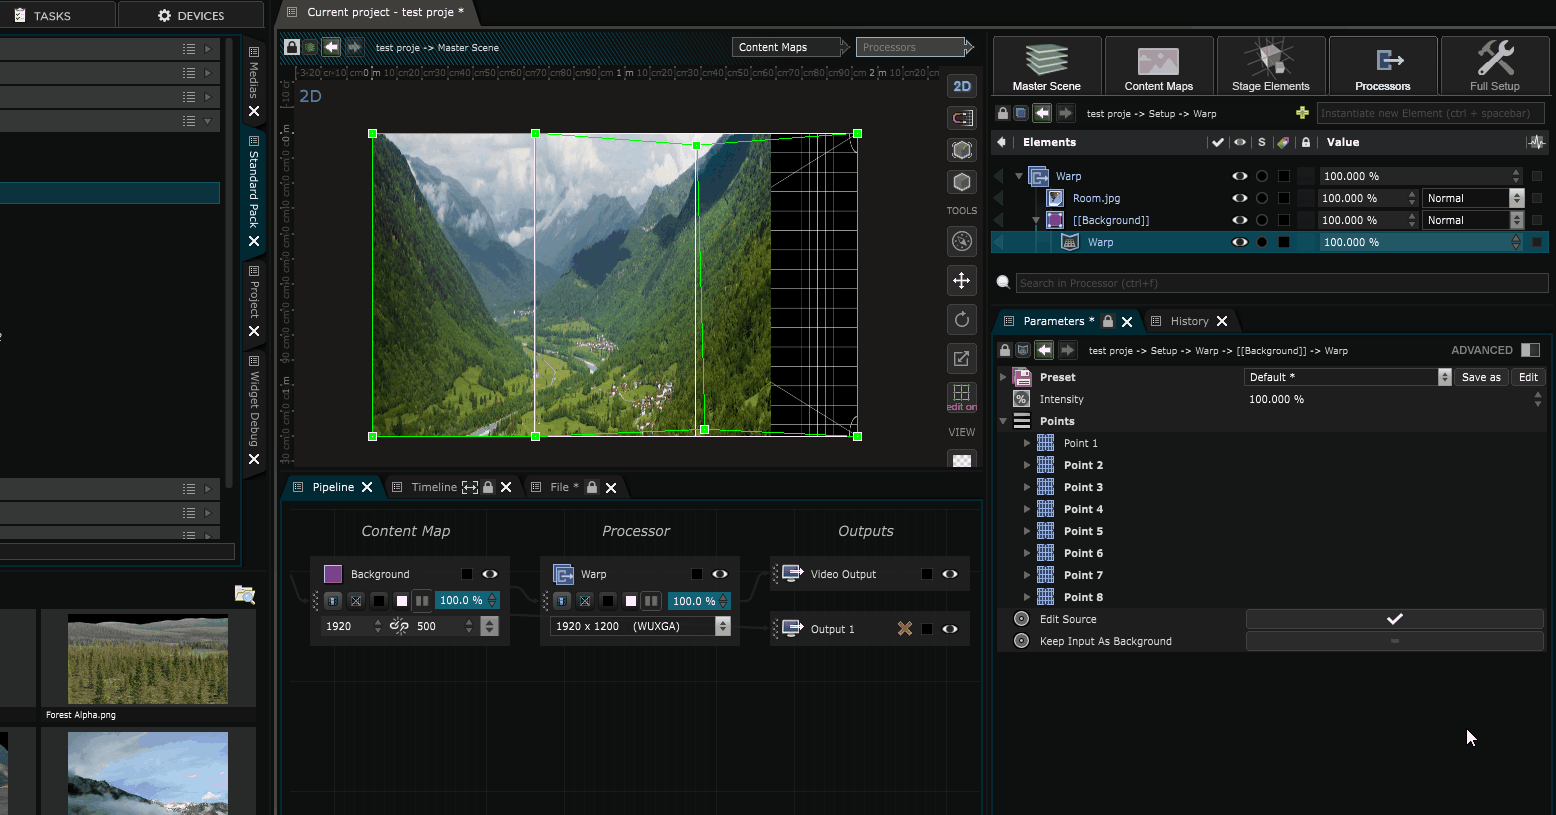
And there you have it :
Both theses methods are valid in Smode, they both have their pros and cons.
The important thing to remember is to do the warping inside a dedicated processor as much as possible.A processor is the bridge between the
Tutorial
Tutorial video of the whole process (from 3:30 to the end):