Create a 2D warp on a single output with Content Area
Method with
 Content Area
The goal of this topic is to show a 2D process allowing to warp an output in order to adapt it to the surface on which we do the mapping.
For this tutorial, we will take the simple project we did in the "
Create a single display project with a Warped output
" chapter as a base.
All you need to have is a single
 Content Map
send to a
Content Map
send to a
 Processor
inside a project.
Processor
inside a project.
Our goal here is to show 2 simple 2d mapping methods:
-The first method will use
Content Area
-The second method will use the
 Warp
Warp
Both methods are not exclusive.
Content Area
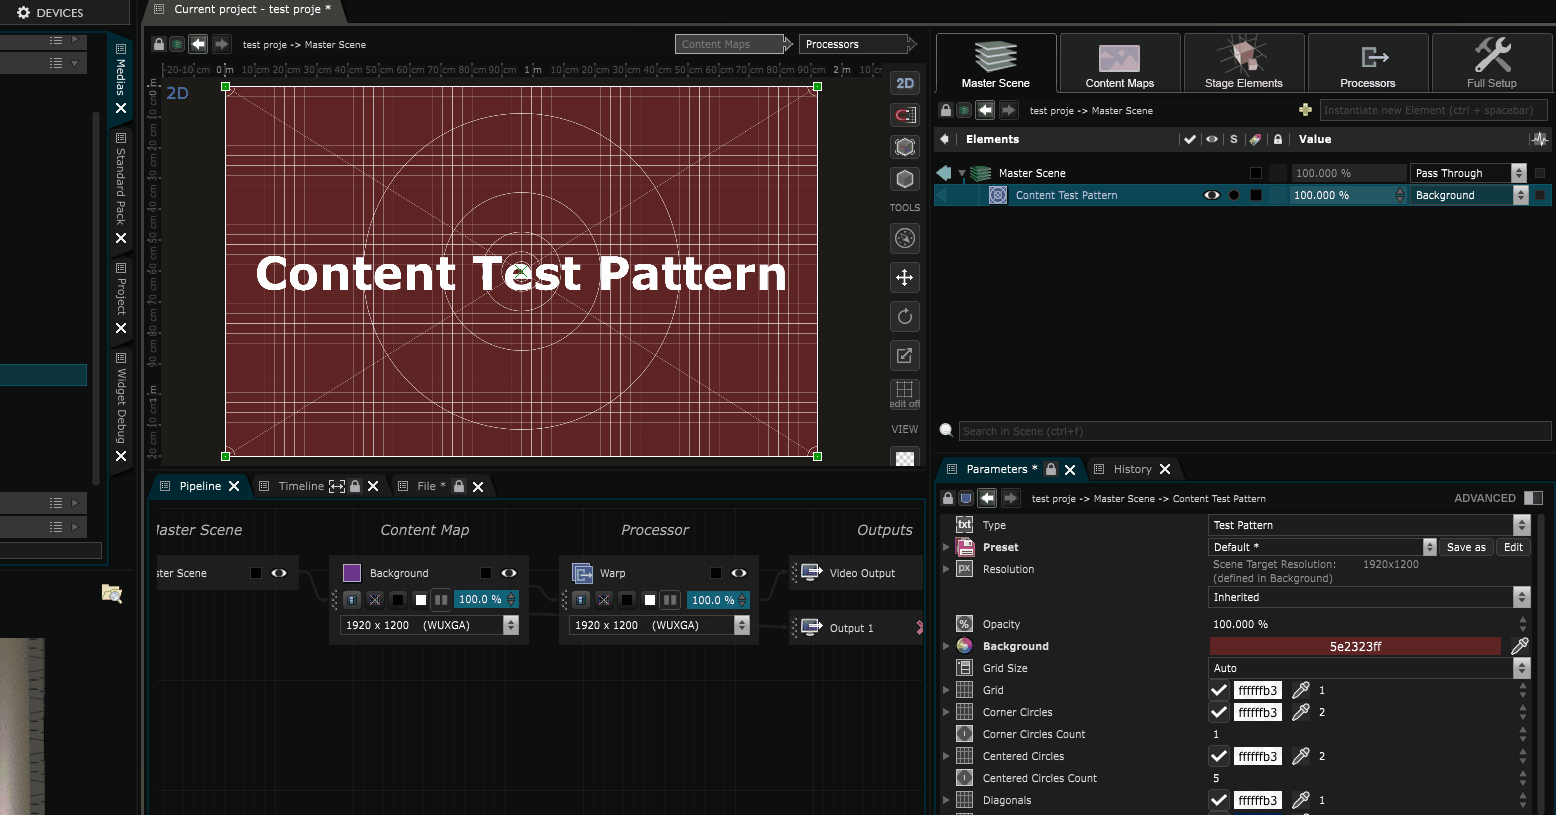
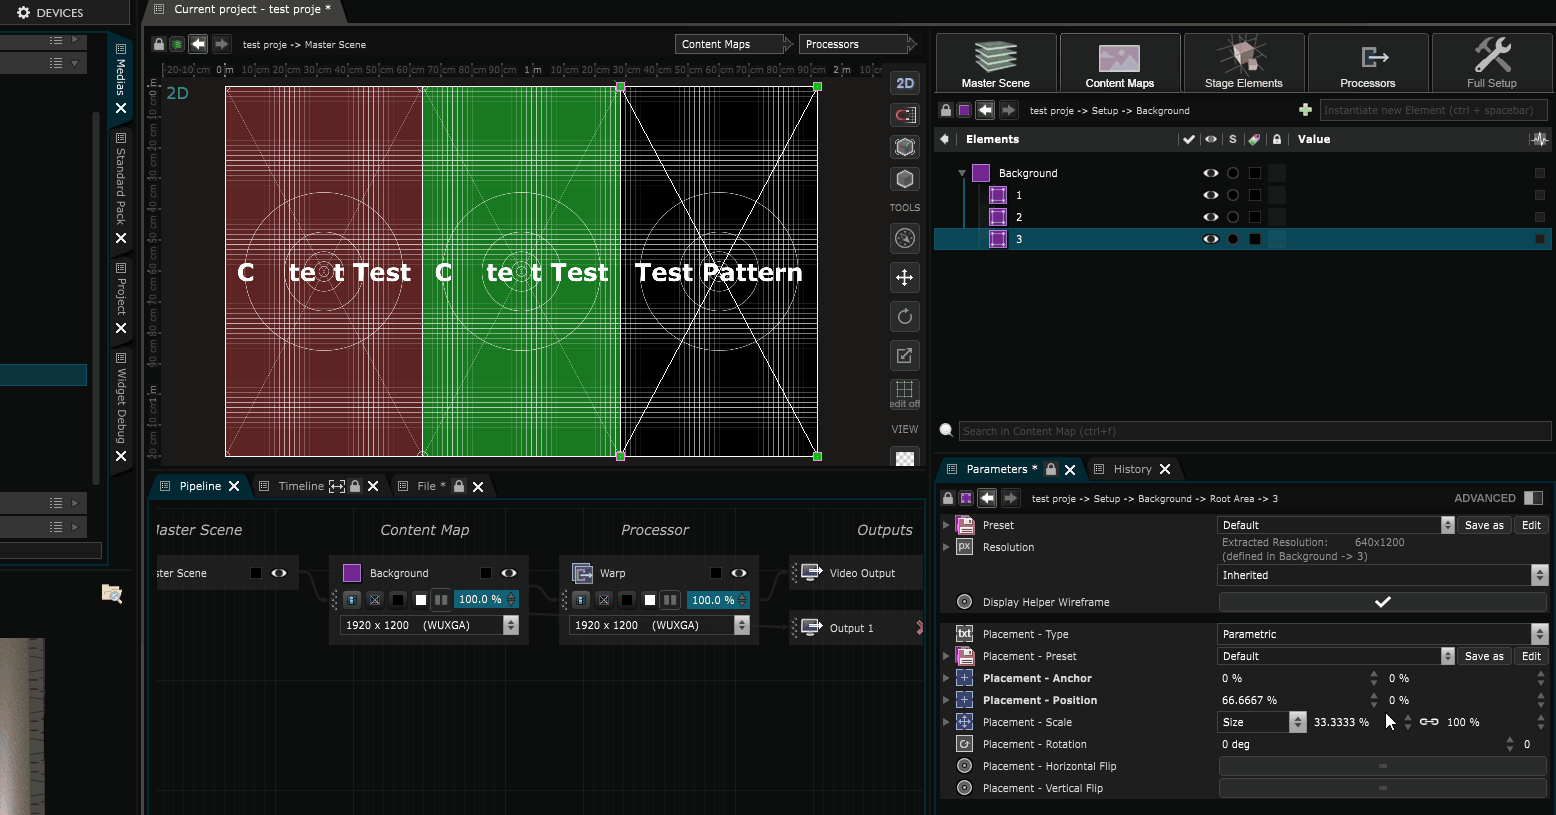
Methodology
Go inside the
Content Map
and split it into 3
Content Area
. Note that once it’s done you can then send one test pattern by content area inside the
Show
(as showed on the image below):
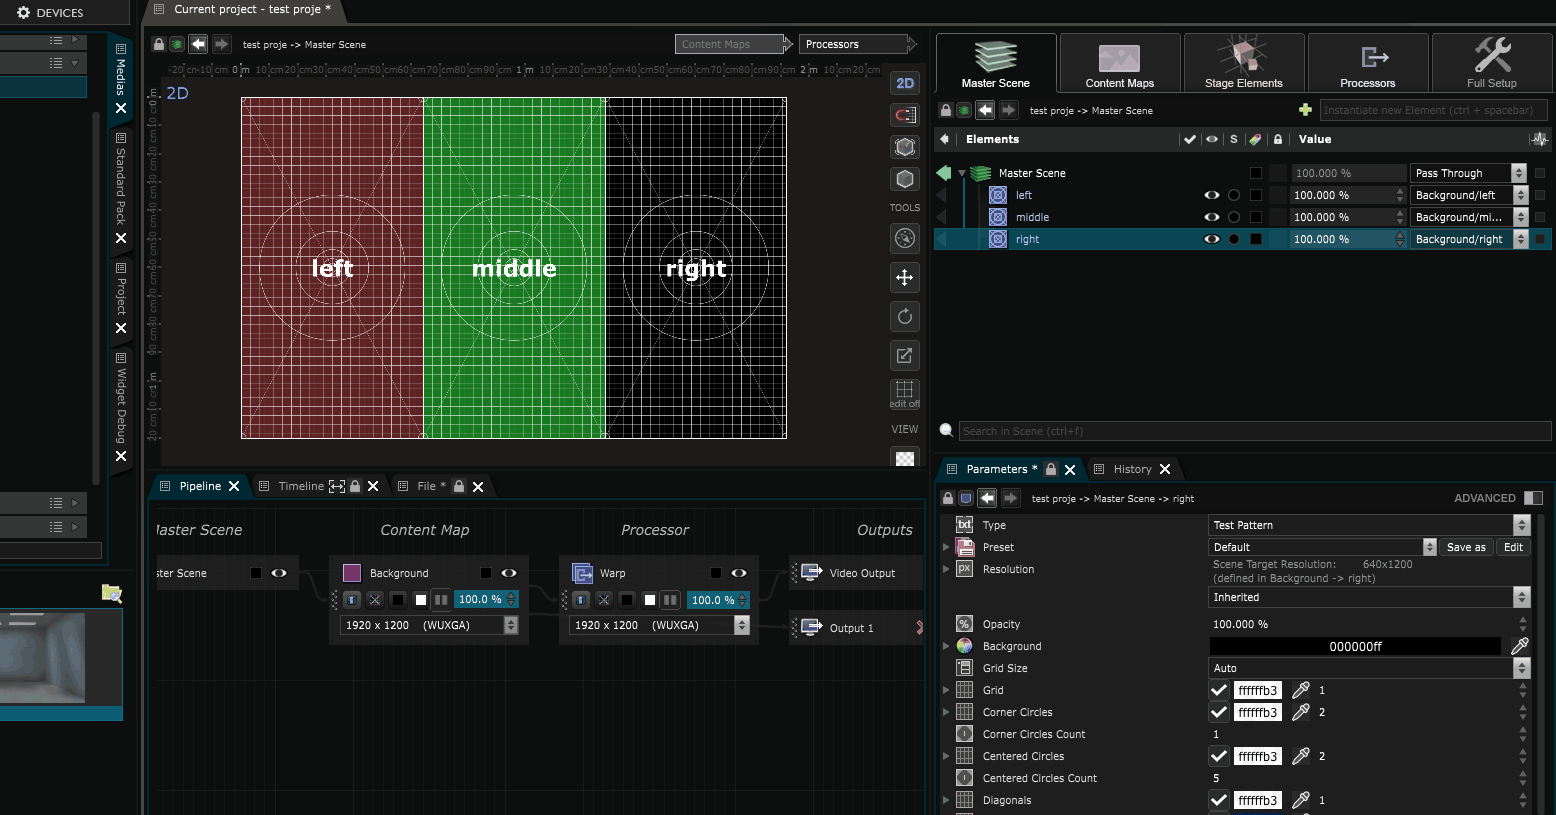
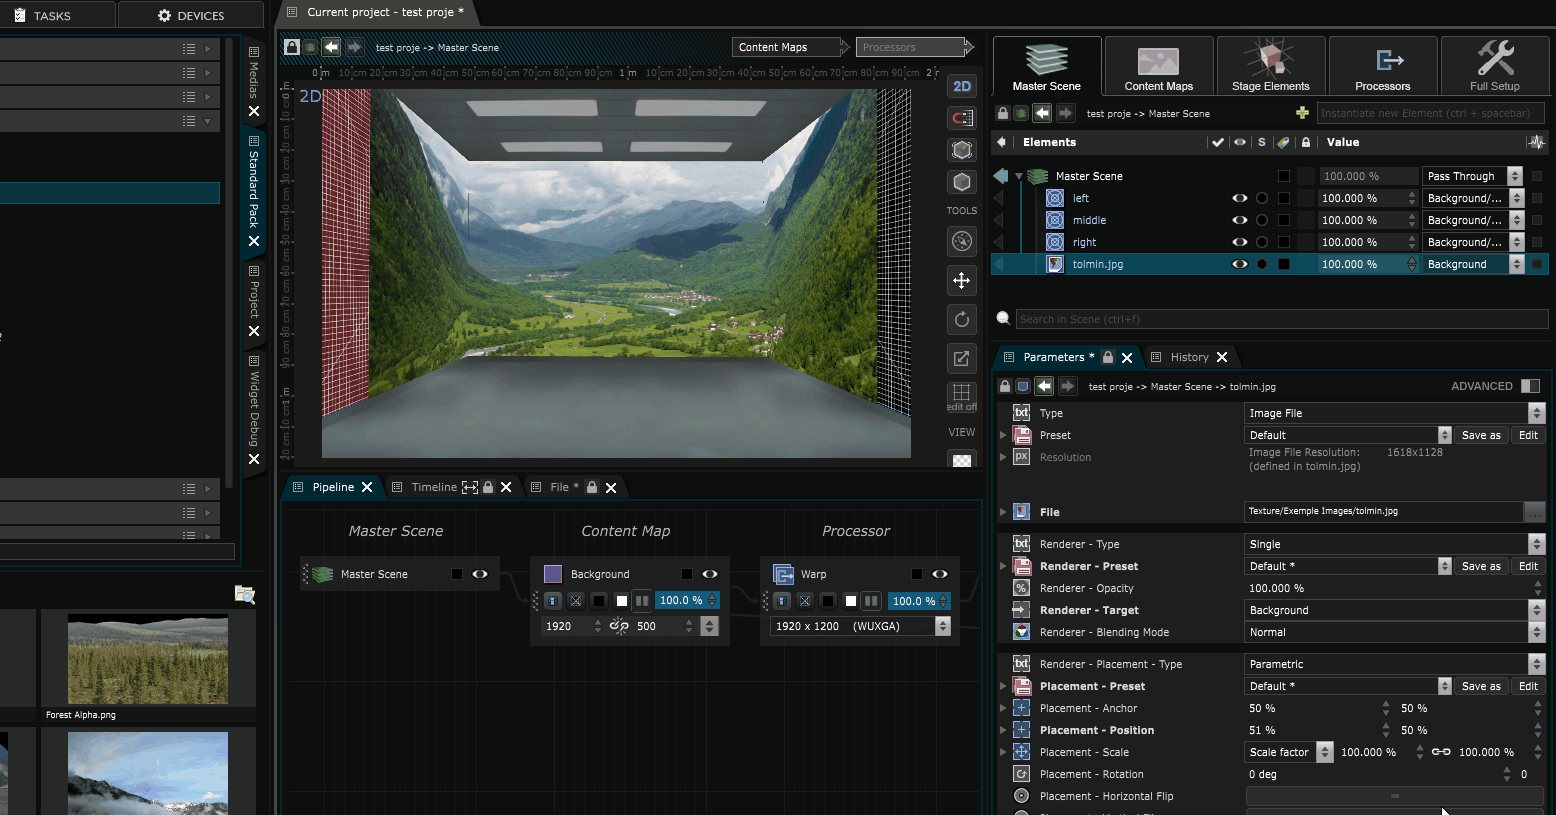
Now let’s rename the content area into “left / middle / right” and rename the
 Test Pattern
as well :
Test Pattern
as well :
Now, let’s change the resolution of the content map to 1920x500 to make it fit the proportion of the walls we want to map.
Note that as our output is in 1920x1200, the resolution of the
Processor
we use for the warp shall remain the same.
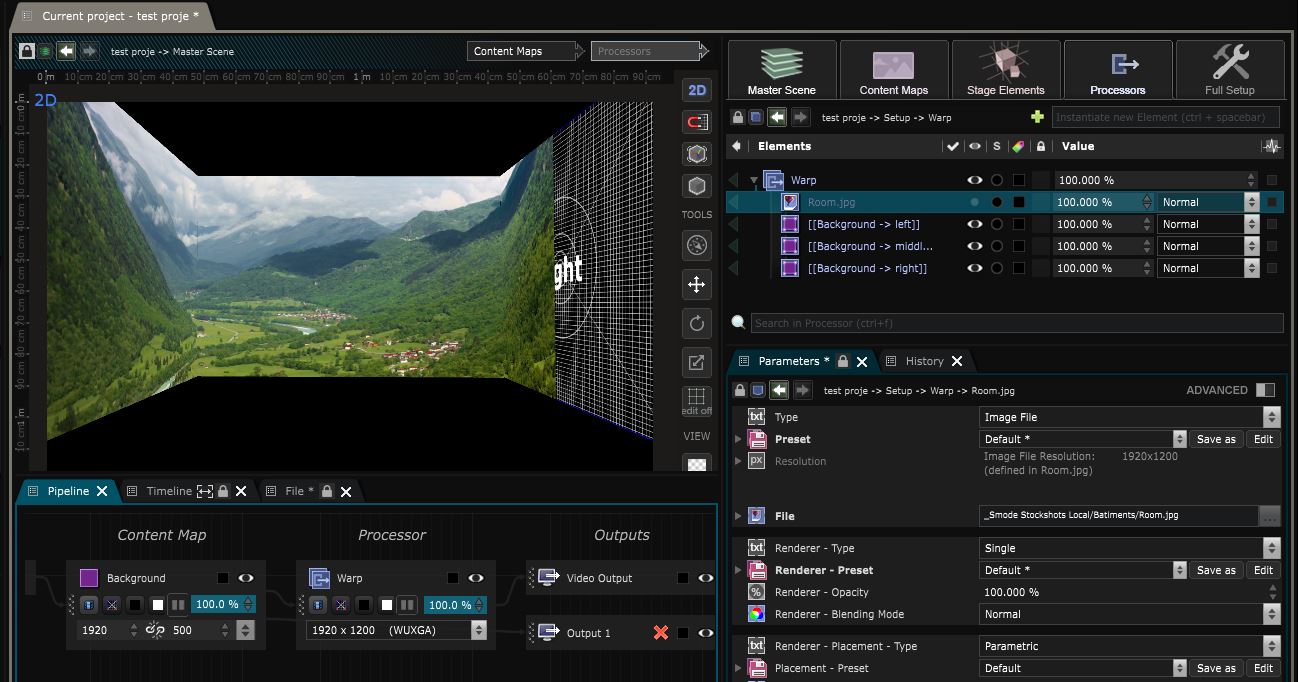
Now let’s go back into the warp processor, and delete the
 Pipeline Layer
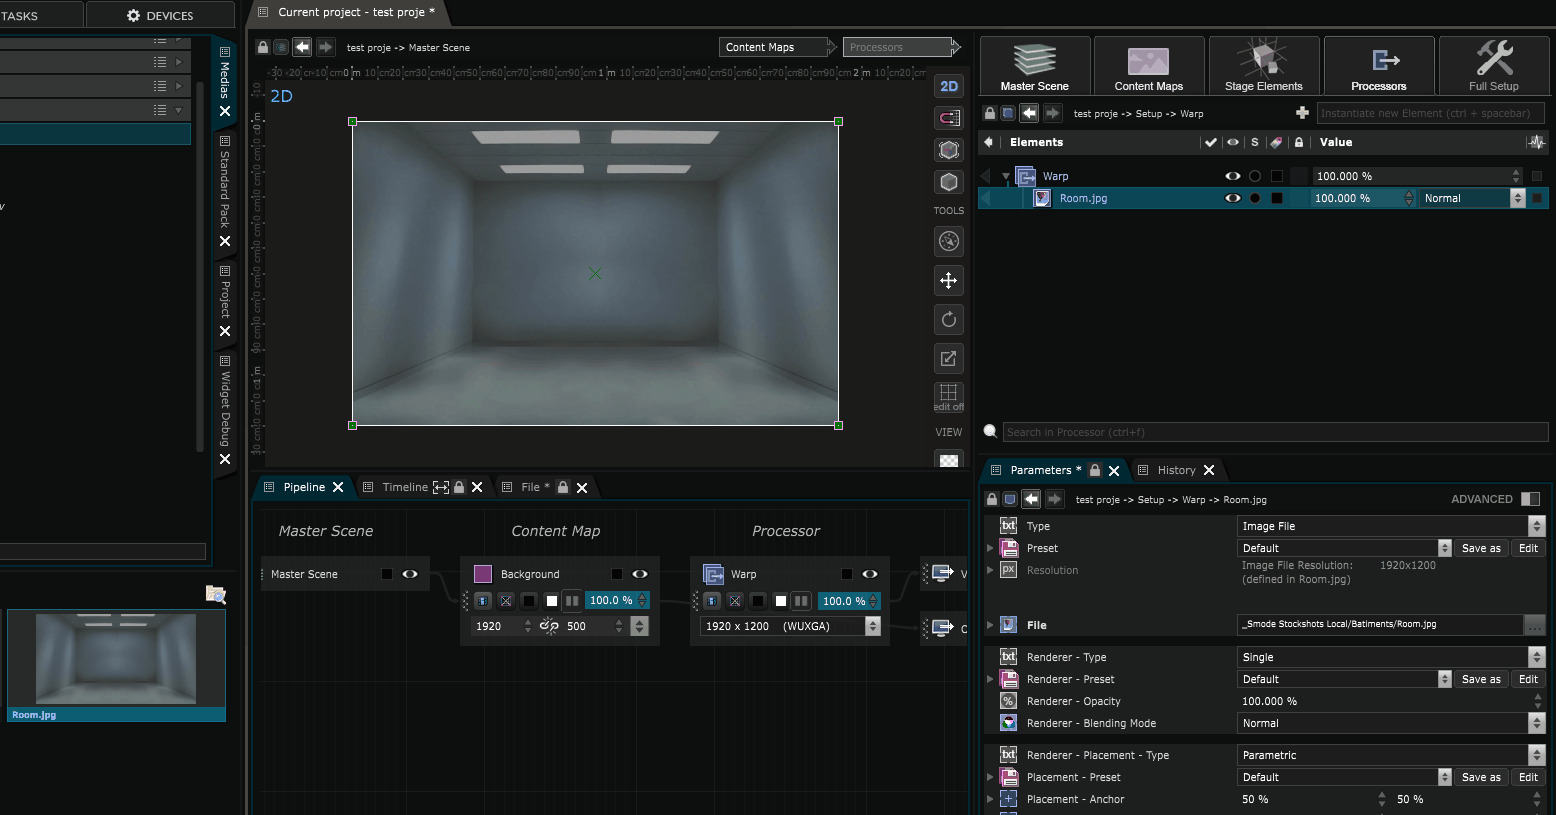
of the content map, and import the background image we want to map. Usually we do that on stage directly, but here let’s it with a background, so this will do a nice pre-visualization too.
Pipeline Layer
of the content map, and import the background image we want to map. Usually we do that on stage directly, but here let’s it with a background, so this will do a nice pre-visualization too.
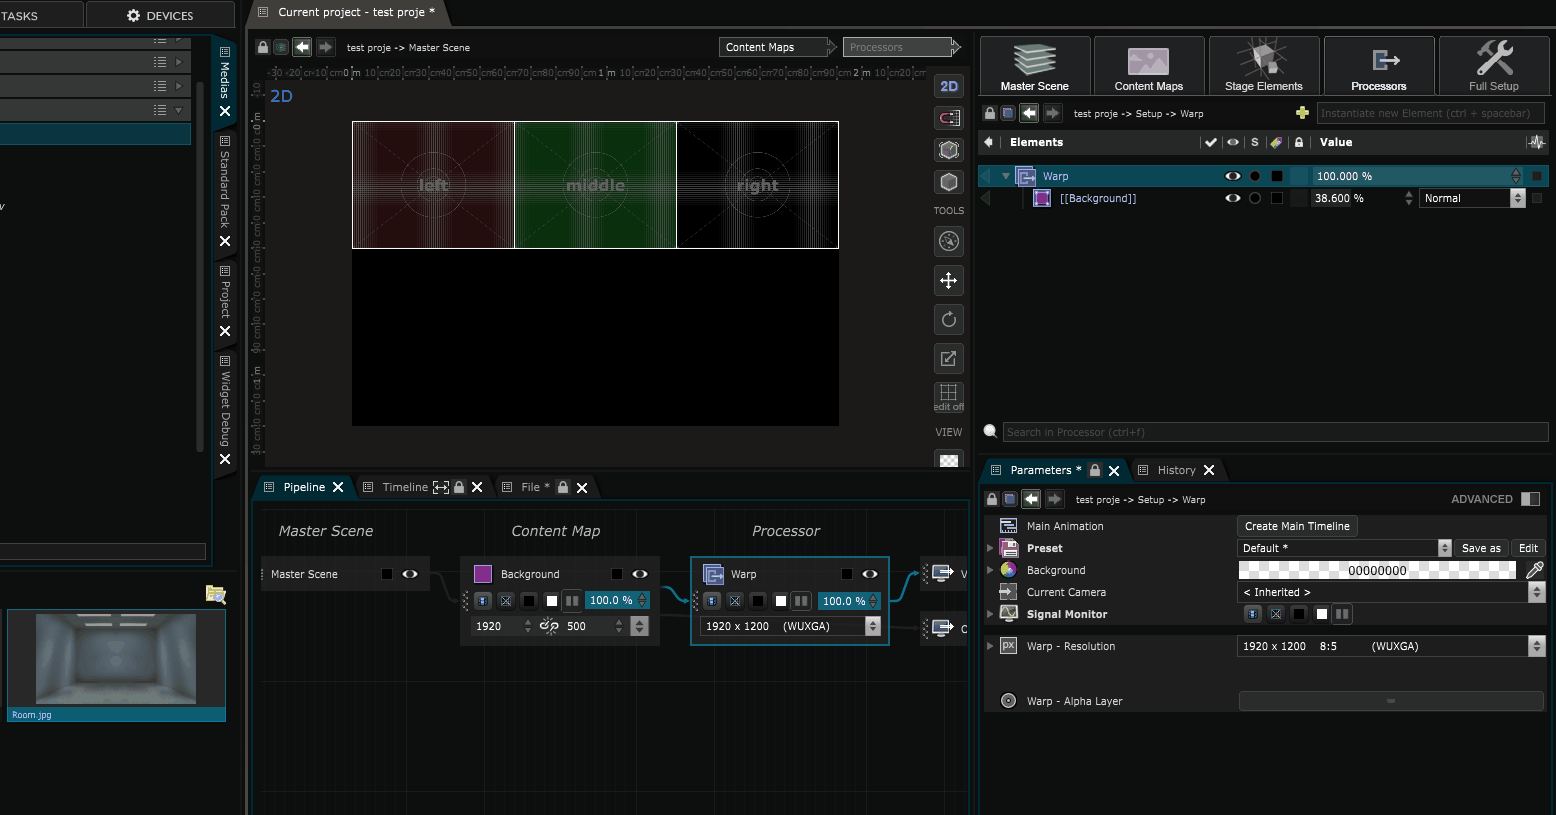
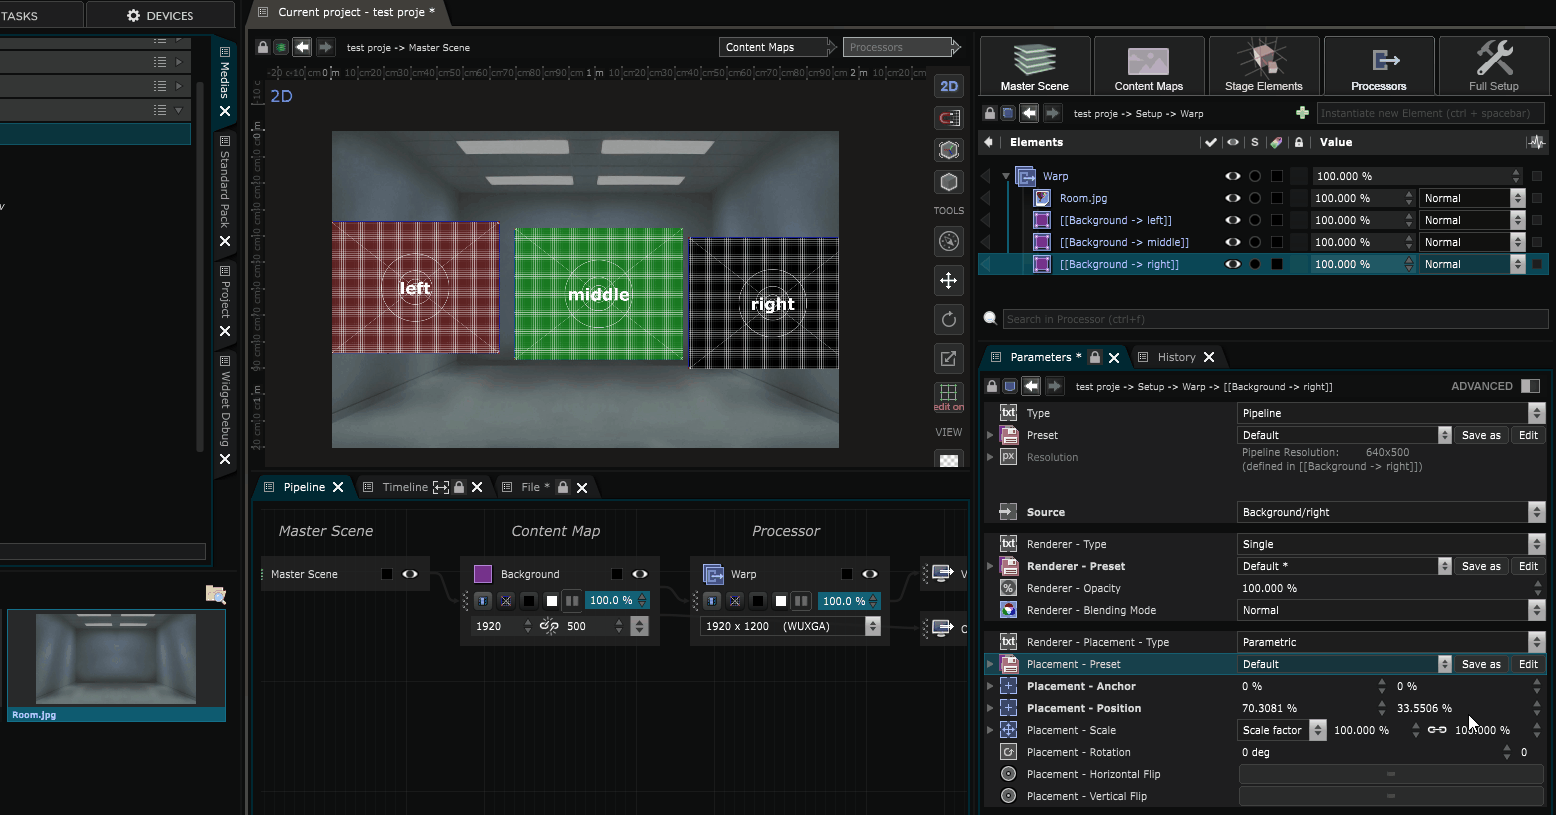
Import each
Content Area
separately :
Now we can use the
 Perspective
of each of these content areas to map them over the room. Note that you can also use the opacity or blending mode of the layers to help you visualise things.
Perspective
of each of these content areas to map them over the room. Note that you can also use the opacity or blending mode of the layers to help you visualise things.
Also, when selecting a corner in Edit Mode , you can fine tune their position using the arrow keys :
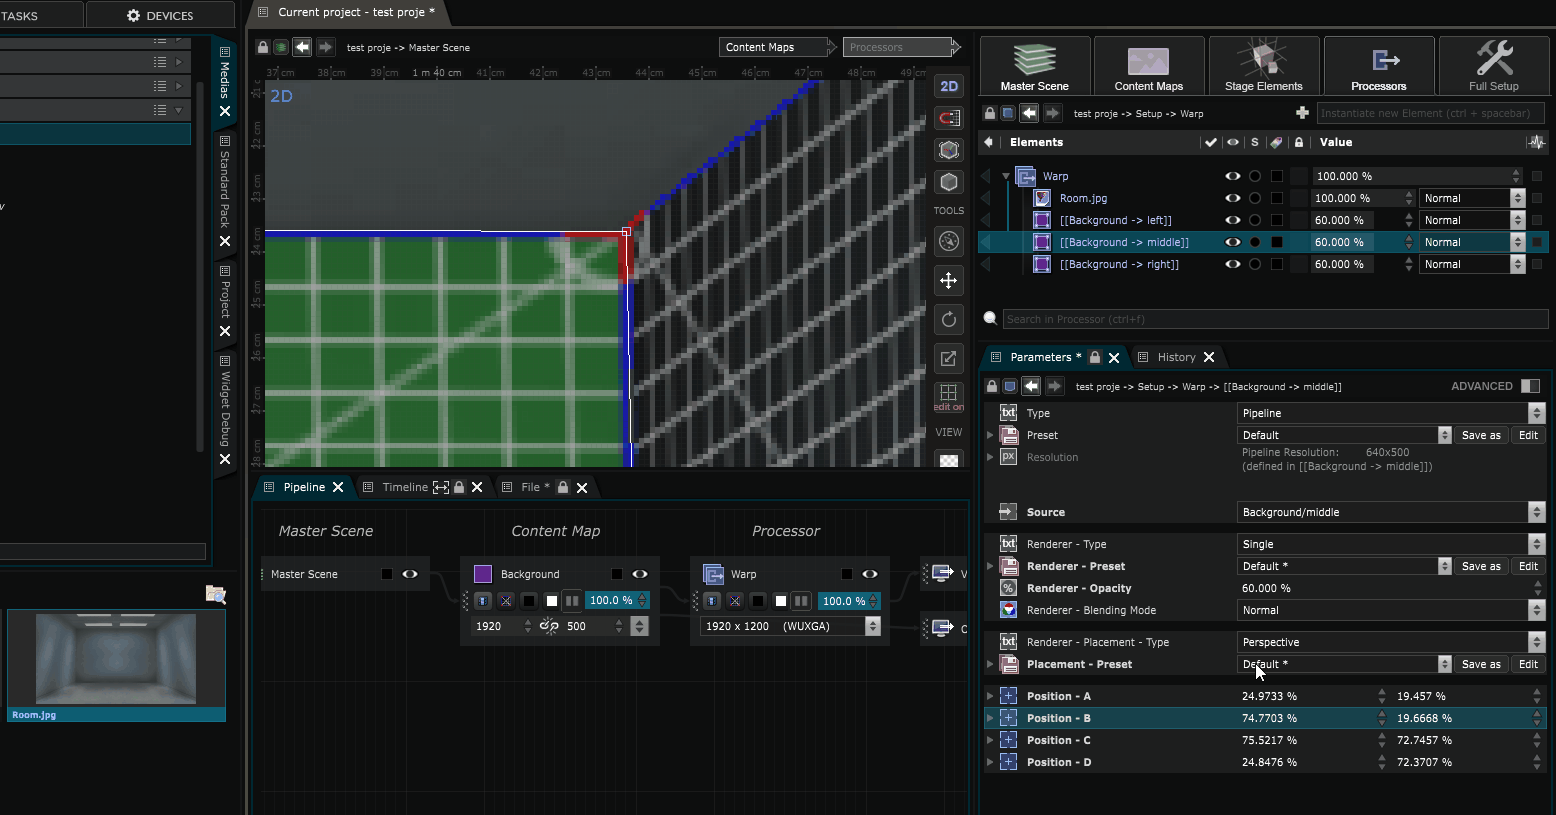
Repeat this operation on the 3 content areas to map all of the 3 walls.
Now you can send your content either on one of the content area or in the full content map from the Show .
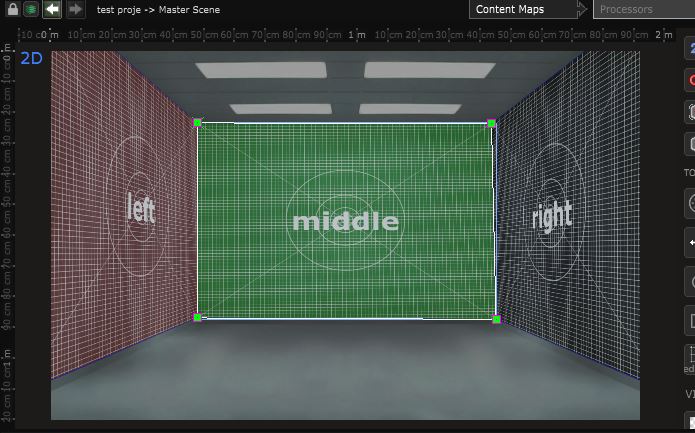
The only remaining thing to do now is to remove the background from the processor and plug this processor into the output, and you’re done :

And there you are done with this method :)
Tutorial
Tutorial video of the whole process (until 3:25):
Continue with the part 2: Create a 2D warp on a single output with Warp .