Timeline
Timeline
-
Timelines allow for easy playback, cutting, and editing of video layers, as well as animation of layers and their parameters, editable with the
 Timeline Editor
.
Timeline Editor
.


There are many ways to animate in Smode, such as using
 Function Cue
and
Function Cue
and
 Exposed Parameter
.
Exposed Parameter
.
Timelines are a common method for animating parameters or bringing life to a 2D or 3D composition.
Smode has two types of timelines:
-
The Main Timeline is embedded inside a composition and functions like in any classical animation software.
-
The Timeline Cue works like a
Function Cue
and is placed inside an
 Animation Bank
.
Animation Bank
.
Main Timelines
When create a composition [CTRL+N], you can choose to include a main Timeline.
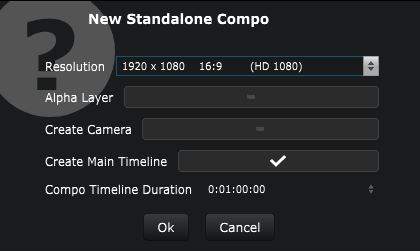
These choices can be reverted or added after the composition creation.
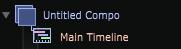
A Main Timeline can be added to each composition. Inside each composition, click the designated button:

The timeline is then accessible within the
Timeline Editor
below the
 Viewport
when selecting the timeline or the composition.
Viewport
when selecting the timeline or the composition.
Selecting the timeline will give you access to its parameters through the
 Parameters Editor
:
Parameters Editor
:

-
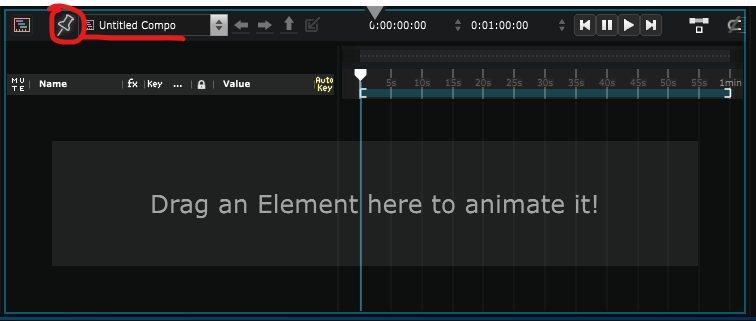
Lock the
Timeline Editor
on the current timeline by activating the lock button (circled in red in the image). -
The name of the currently displayed timeline is shown in the top left part of the
Timeline Editor
(underlined in red).
Drag and drop a composition inside the main timeline to have every animation within it driven by the newly created matching track:

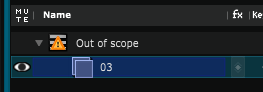
If a composition with a timeline is placed under a Brother or Child Timeline instead of a Parent Timeline, an “out of scope” icon will appear.
The timeline hierarchy must follow the
 Element Tree
hierarchy:
Element Tree
hierarchy:
Timeline Cues
A Timeline can also be created as a cue or standalone animation, that you can use in an
Animation Bank
or
 Cue List
(for Smode Station), similar to any standard cue:
Cue List
(for Smode Station), similar to any standard cue:

Here is how to create Timeline cues:

Variables:
-
Time Code:
Bind the timeline to a
Clock Device
. Read more here:
 Bind the Show Timelines to Timecode